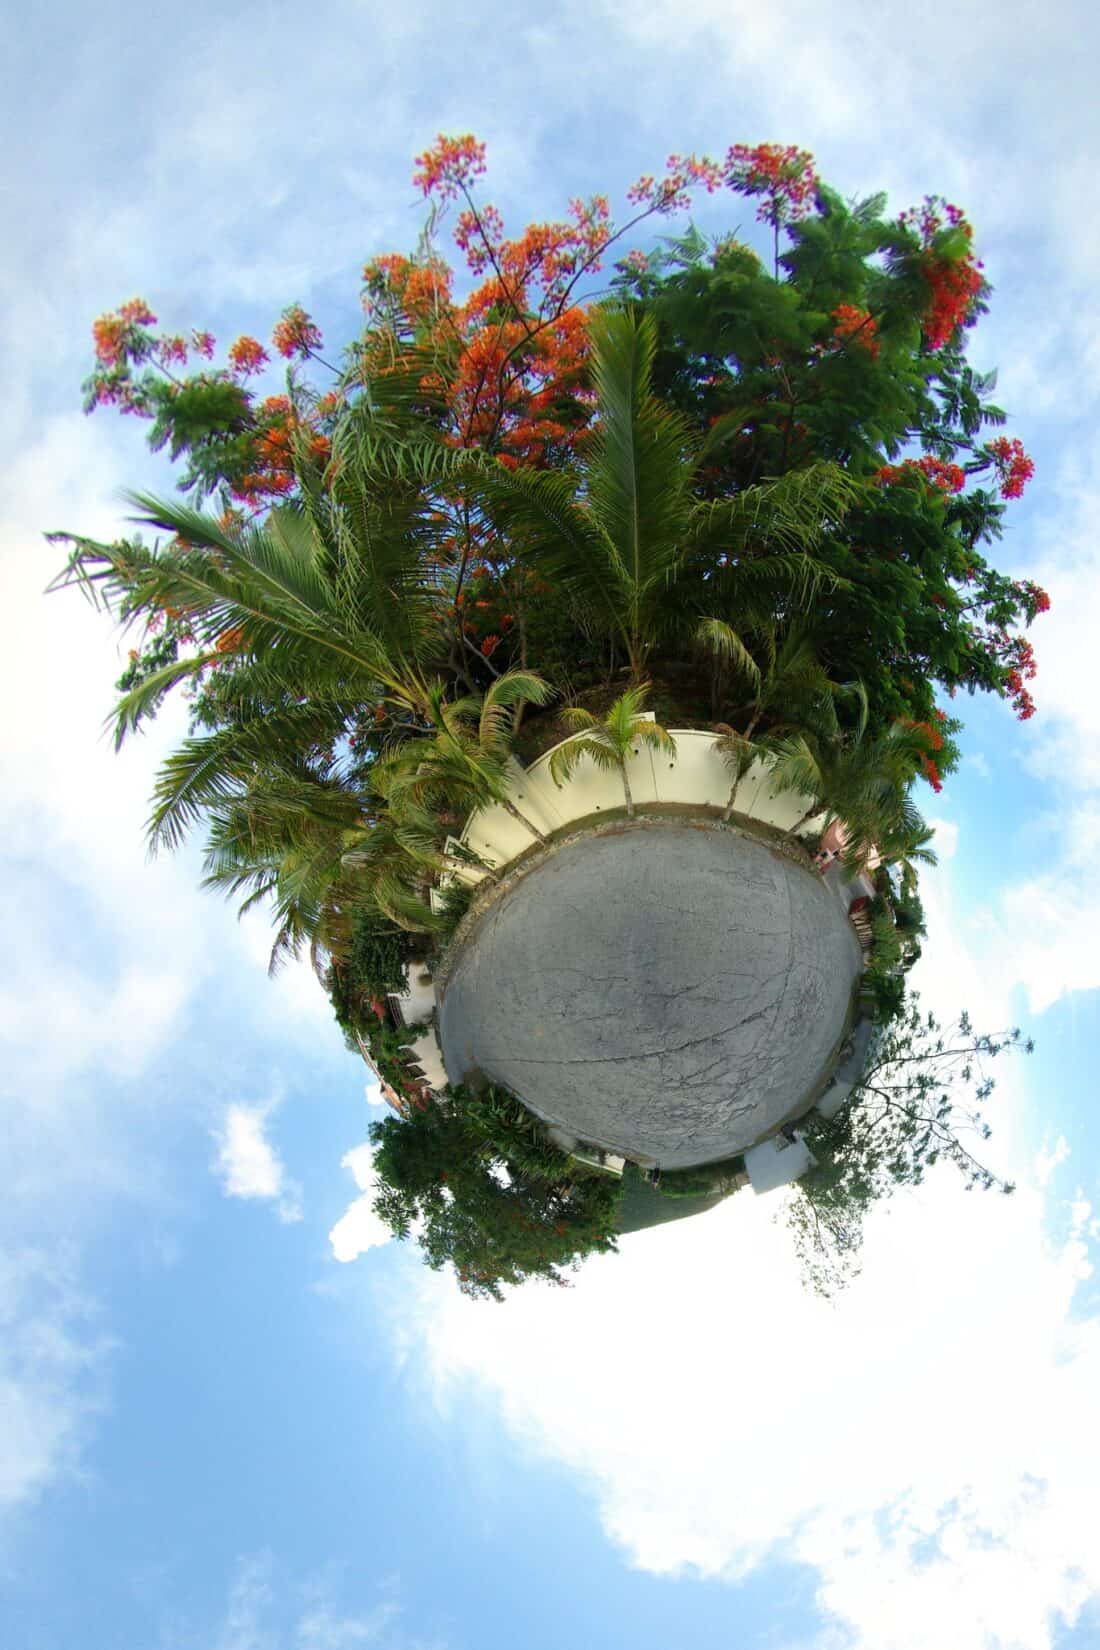
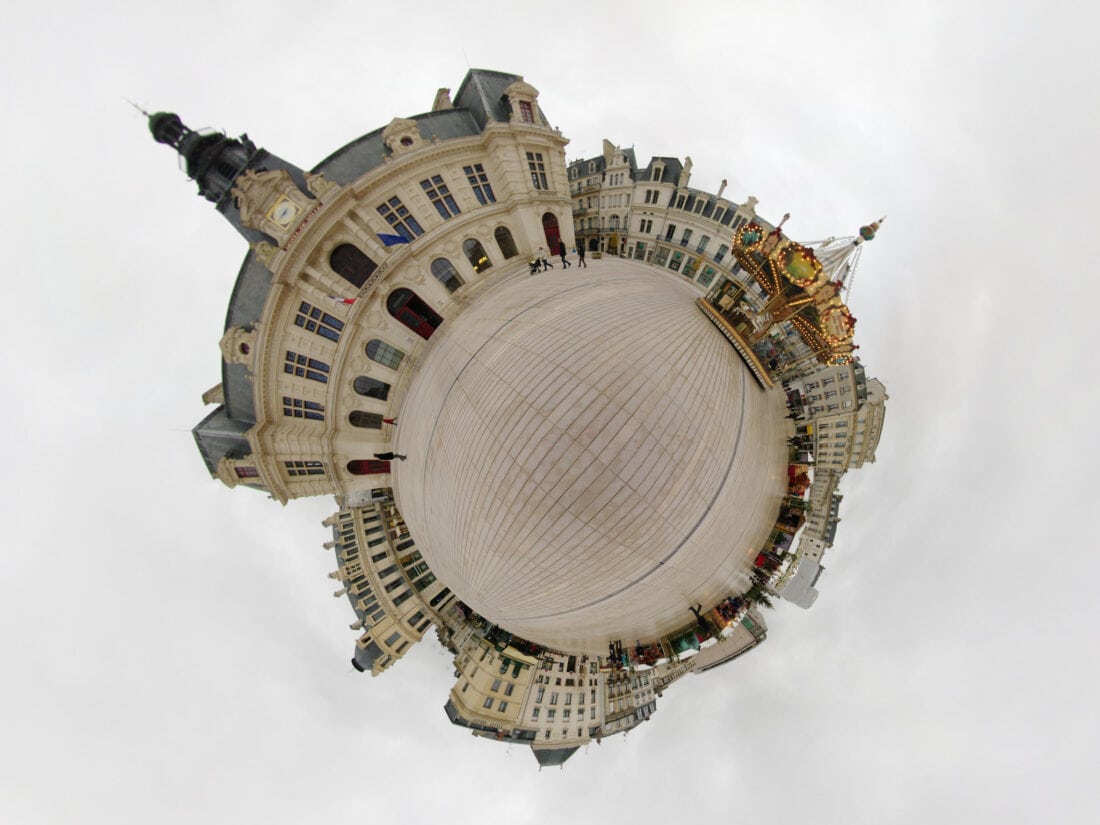
I am utterly fascinated with the Wee planets series of images that computer scientist gadl created (using stereographic projection) on flickr. It is a twisted, 3d, panoramic combination of photogrpahy that turns your view from a place on the planet into tiny planet. The results are fascinating and I think capture the sense of a place in a way that other photogrpahy cannot.
Plus I think it is beautiful, do you agree?
What Sterographic projection?
It is called a Stereographic projection made from a 360° panorama built from 46 (more or less) pictures. This one was created from images taken at La butte aux canons (canon mound) which is one of the two highest locations of Bois de Vincennes (Paris’ eastern park). The place is visited by strollers who enjoy the sight of Château de Vincennes, and since its access path is very steep it also attracts intrepid runners and kamikaze mountain bikers.
The wee planets are created from a series of panoramic images taken 360 degrees around a point, and then pasted together to create a 360 x 180 panorama. This is then saved as an equirectangular projection.
The stereographic projection (which is what is the final view) can be achieved with the mathmap plug-in for The Gimp. The vocabulary, makes it sound really complicated but if you are interested, I think if you step through the directions (They are included in the box below), patiently, that are provided here you might have some success.
All the software is free and if you have a digital camera and a tripod you are set to go.
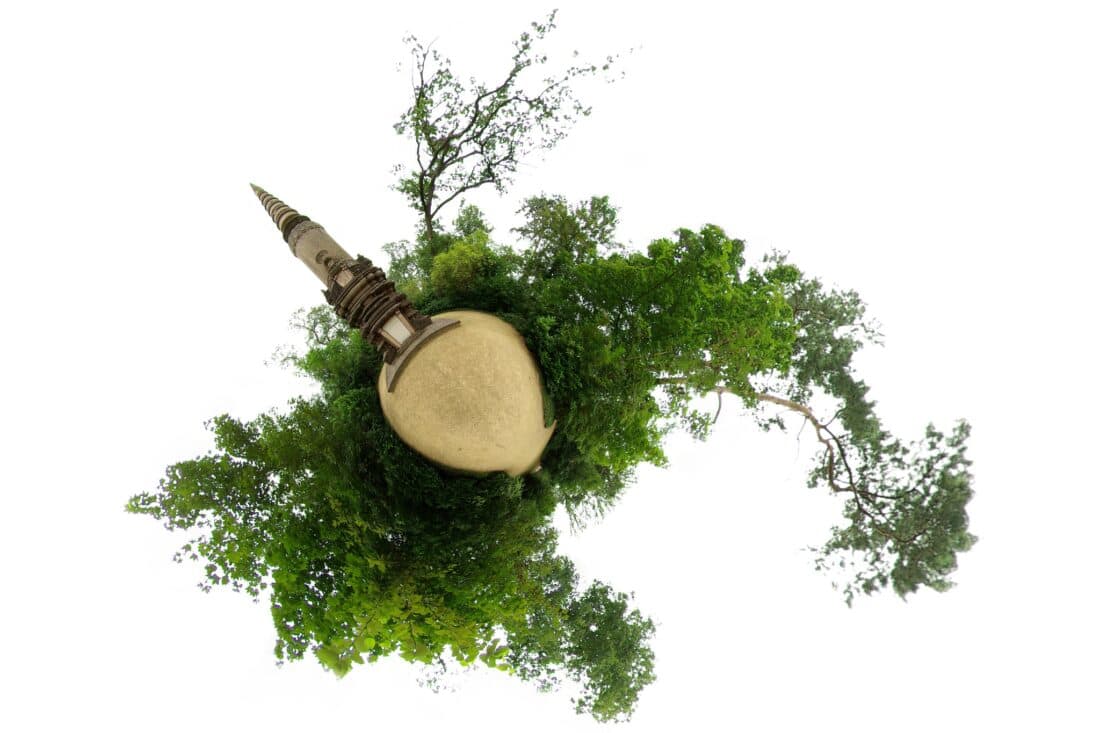
The panorama below is the base for the wee planet above. It is taken at Monument aux morts cambodgiens et laotiens.
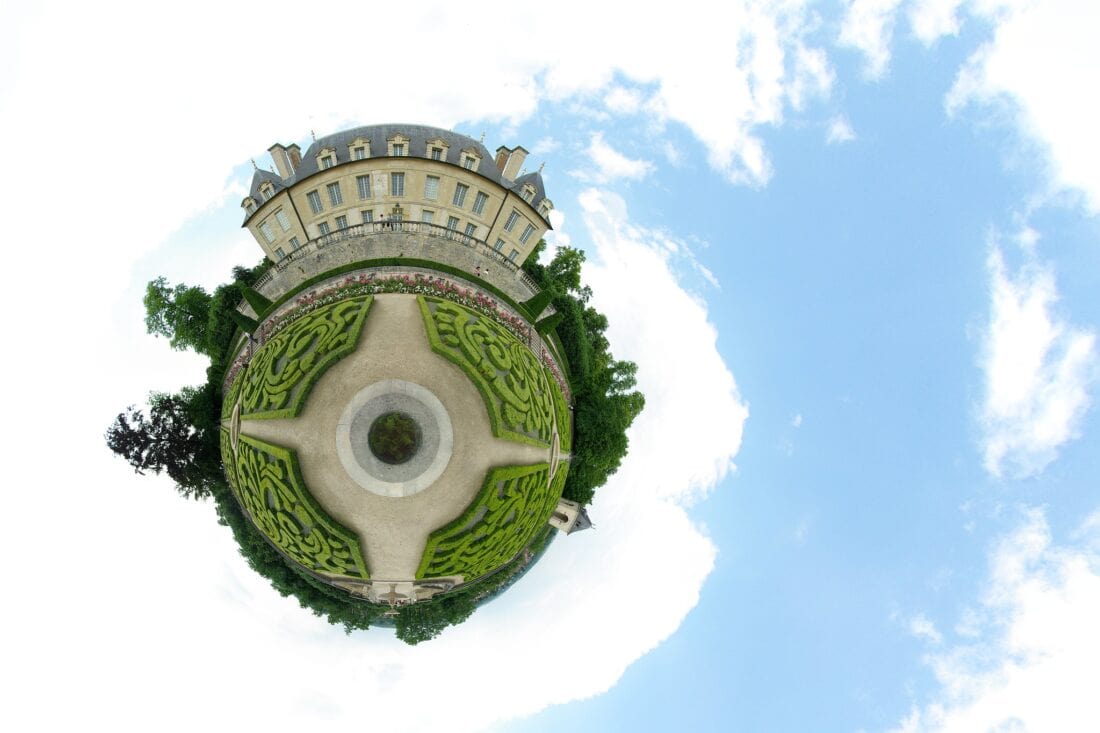
This set (below) was taken inside a castle in Bratislava.
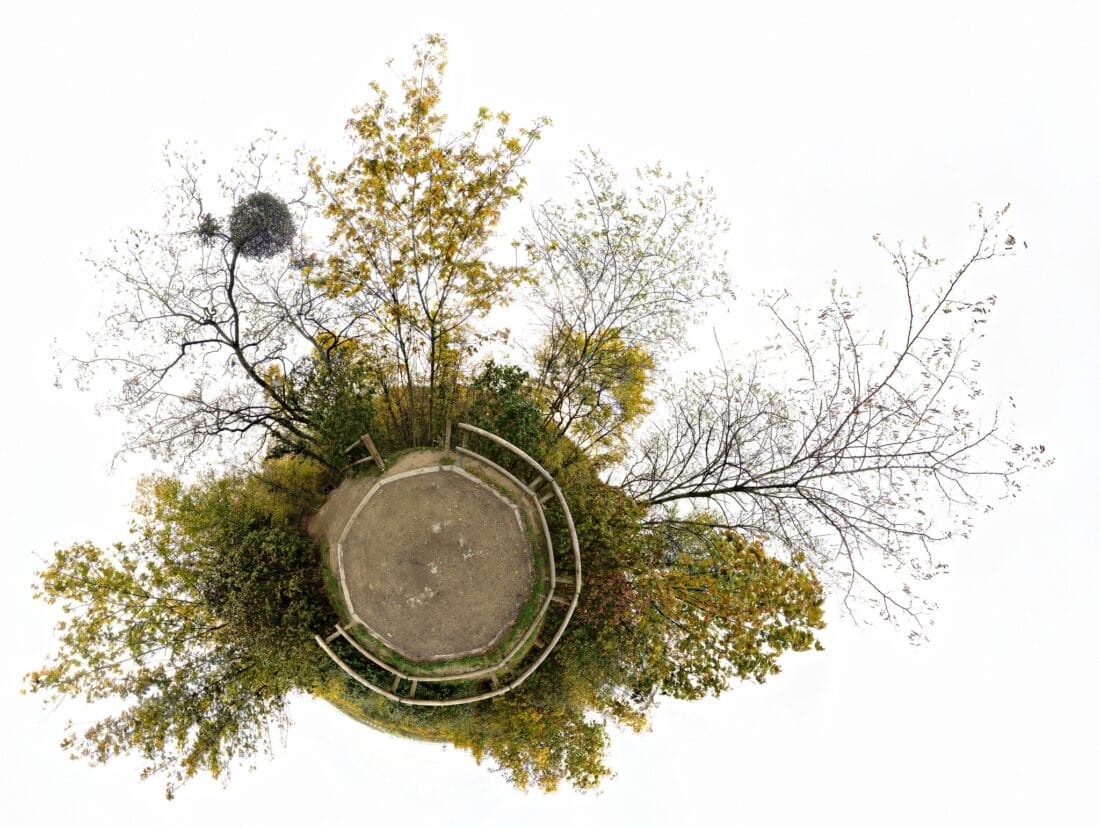
And this one (below) was photographed at the Église d’Auvers-sur-Oise. You can see a huge collection of more wee planets here.
I am thinking I might give this a try in some of the gardens that I am involved with. I am wondering if it would have any use in designing landscapes. What do you think? Is it worth a try for any other reason than just interesting to try out?
The below is a direct quote of the About/ FAQ from the Flickr Gallery (I have returned to this many times and always find this information hard to re-find – so I am including it here for your use). It answers all the questions and hopefully helps you to create your own.
Answers to some frequently asked questions:
Wee Planets
What am I looking at?
All these pictures are 360°x180° panoramas projected to look like small planets using a projection called stereographic projection.
Can I buy a print?
Prints for some of these pictures can be bought on ImageKind.
However you can download original pictures here and print them yourself.
Please read my profile for more licensing information and ways to contact me.
What is a 360°x180° panorama?
Turn around and look all around you. You can see 360° horizontally.
We should also consider the vertical dimension: if looking straight ahead (horizontally) is 0°, you can look upward up to 90° (the sky) and downward to -90° (the ground). That covers 180° vertically from the zenith (the point in the sky right above you) to the nadir (the point on the ground right below you).
Now imagine that you are at the center of sphere, and the image of the world you see around you is in fact just a picture on that sphere. Everywhere you look (the whole 360° horizontally and the whole 180° vertically), the sphere shows you a picture if what you should normally see in that direction.
A 360°x180° panorama is exactly this sphere. Making a 360°x180° panorama means that you have to shoot pictures for all direction, including sky and ground, in order to be able to reconstruct that sphere.
What is a projection?
Because we look at picture on a flat screen, or on paper, we need a way to project this 3-dimensional sphere to something flat, in 2 dimensions.
Imagine for a moment that the spherical picture works like a slide for image
projecting. There is a light at the center of the spheres, the light passes through the sphere and finally hit a nearby screen. What happens is that a part (the portion visible on the screen) of the sphere has been projected on the screen. This projection is called gnomonic projection or rectilinear projection, it is the projection used when viewing interactive panoramas. It is also the projection used by any regular camera when taking a picture (indeed: cameras take a picture of a part of the viewable sphere and project it flat). The obvious problem with the gnomonic projection is that you cannot project the entire sphere. Even if you had an infinitely large screen, you could only project one half of the sphere: the area that is between the screen and the center of the sphere.
Other projection exists, each with pros and cons. There is however one thing that is common to all the projections: you cannot project the sphere on a flat surface without distorting the image in some way. Think of trying to flatten an orange peel without tearing it…
What is a stereographic projection?
The projection used for the planets is called stereographic projection.
One way to picture the stereographic projection is to imagine again a screen near our viewable sphere (still used like a slide), but instead of locating the source of light at the middle of the sphere, we shall put it at the surface, on the point that is the farthest from the screen. The light goes off that source, through the sphere, and hit the screen. Now if we have an infinite screen again, all the sphere but one point will be projected on that screen. The only point that is not projected is the point where the light source is.
For building planets out of 360°x180° panoramas, we put the light source at the zenith (top of the panorama), and project on a screen that is just under the ground, horizontally. That is why you never see the zenith in these pictures.
The stereographic projection is a conformal projection, which means that it locally preserves angles and therefore shapes. However this is only true locally, in the vicinity of each point. Globally (from a distance) a straight line is likely to be curved unless it passes through the center of the projection (the light source). One especially nice property of the stereographic projection is that its maps circles to circles, so if you shoot circular, it will come out circular despite the stretching.
Funny things happen when you decide to move the light source (and the screen, accordingly) away from the zenith. If you keep it in the sky, it still lools like a distorted planet. If you move to the ground it looks more like a tunnel.
Because I’m a purist, I’ve only kept stereographic projections that look like planets in this set. The rest is stashed away in my Indoor and other stereographics set.
Isn’t that the same as the polar transform of my photo editor?
No. It’s a different transformation.
Dirk Paessler posted a tutorial showing how you can use the “polar coordinates” filter of your photo editor (The Gimp has one) to create a planet.
These are NOT stereographic projections. The polar transformation is not conformal, it does not preserve any circles (it only preserve circles that are centered around the viewing point), and it somehow squashes the shapes.
Frankly, it’s not aesthetic.
How do you do it?
Three steps:
(1) you should first shoot the viewable sphere around you
(2) build a 360°x180° panorama of these pictures
(3) project this panorama as a planet (or something else)
(1) Shooting
To build a 360°x180° panorama you have to take pictures on all directions, but not only on the horizon. You should also shoot the sky (zenith) and the ground (nadir). A missing zenith is not important if you only plan to build a planet.
Some tricks:
* use the smallest zoom you have to minimize the number of pictures you have to take
* lock the exposure and the white balance and the autofocus of you camera if you can: pictures taken with constant parameters are much more easier to stitch together
* do not rotate the camera around you, it should be you that is rotating around the camera: your camera should be the fixed point (the center of the sphere)
(2) Building the 360°x180° panorama
The initial panorama is built from those individual pictures with the following tools:
* autopano-sift to create control points,
* hugin to figure out, from the control points, how each picture should be distorted,
* enblend, to stitch the distorted pictures together.
Rob Park’s tutorial about the above tools really helped me when I started making panoramas (I have a separate set for “straighter” panoramas). Unfortunately Rob has removed this tutorial from his site. You can still read the text, without the pictures, at webarchive, however today it might be better to start from the list of Hugin tutorials.
Once you have assembled you panorama, save it as an equirectangular projection. This projection is mainly useful for computers, because it is a representation of the entire sphere as a rectangular image in which X and Y correspond to longitude (360° horizontally) and latitude (90° vertically).
(3) Converting the panorma into a planet
The stereographic projection can be achieved with the mathmap plug-in for The Gimp. Nowadays, Mathmap comes with a script that performs the stereographic projection. In the past, you had to write your own. I’m still using the script I derived from this formula. Mathmap has a group on flickr where you can ask your questions.
If you can’t stand maths, or can’t use mathmap, you can also achieve the stereographic projection using hugin. Please refer to Manu’s explanations.
Which camera do I need?
Any digital camera should do. Even that of your phone.
The first 48 planets (shot and uploaded before 2007-02-17) were all shot with my
Sony DSC-T5 point-and-shoot camera. The problem of this camera is that there is no way to lock the exposure, so the 50+ shots it takes to make a panorama are all exposed differently. At some point, Seb Przd pointed me to PTblender as a way to adjust the color of a picture to match its neighbor. Using PTblender to color correct an entire panorama is difficult as time consuming (see this comment for a description of my technique, this comments for an interesting side-effect, and this picture for some time estimation). Today, using PTblender would be a bad idea: hugin has an integrated tool to tackle this color correction.
Nowaways I’m using a DSLR (Pentax K10D). All panoramas taken after 2007-02-17 will be shot with it. I have been using the K10D kit’s 18-55mm lens until 2007-04-07, I’m now using a Pentax 10-17mm fisheye lens. With the fisheye lense at 10mm I only need to shoot 6 picture horizontally, plus one for the sky and another for the ground.
Is a tripod requied?
No, but it helps a lot. The more you can keep your camera rotating around a fixed point, the easier it is to align the pictures and build the panorama.
I have been shooting handheld until 2006-11-12, at which point I bought a simple video tripod without panoramic head. Even though the tripod won’t rotate the camera around its nodal point, it still helped to reduce the parallax errors.
My brother then offered me a panoramic head which I’ve been using since 2007-01-01. However I still often shoot handheld.
Shooting handheld is reasonable if there is no close object, and of course if there is enough light (obviously I can’t do a night panorama handheld).
Where did you learn it?
I first read Dirk Paessler’s turorial about the polar transform which looked really exiting because I had been building panorama for some time and I was looking for something fun to do. After searching for planets in flickr, I discovered this planet from Seb Przd who was just experimenting with mathmap and the stereographic projection. I think it might have been Seb’s first or second stereographic planet. It looked so better than the polar transform that I decided to do that instead. (In fact I think I never built a polar transform…)
So a few days later I went near the Eiffel Tower, shot pictures in all directions with my point-and-shoot, came back home to assemble the panorama with hugin. I then installed mathmap and it took me a long evening to discover it and use it to program the stereographic formulæ (today it would be easier, since people have posted their implementations online).
If you have more questions
Other people may have the same question: so please do not send me private mail, first make a google search, and then ask publicly where other people will be able to find the answer. I suggest you ask technical questions in the Create your own planet, Equirectangular, or Stereographic groups.
Super cool pics!!!! I want to give it a try. Thanks for the post!