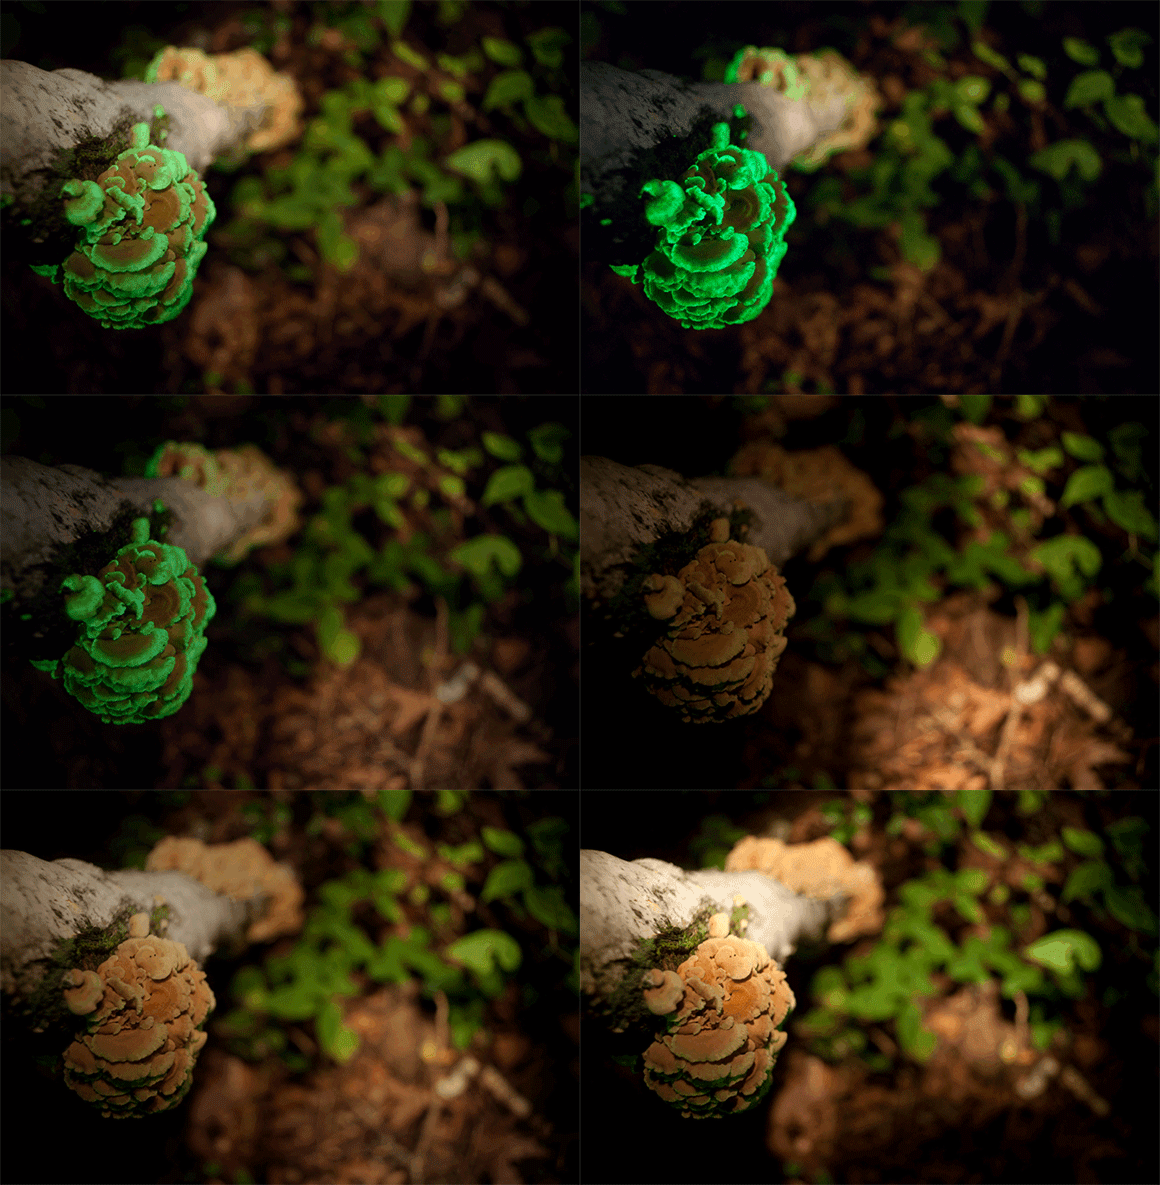
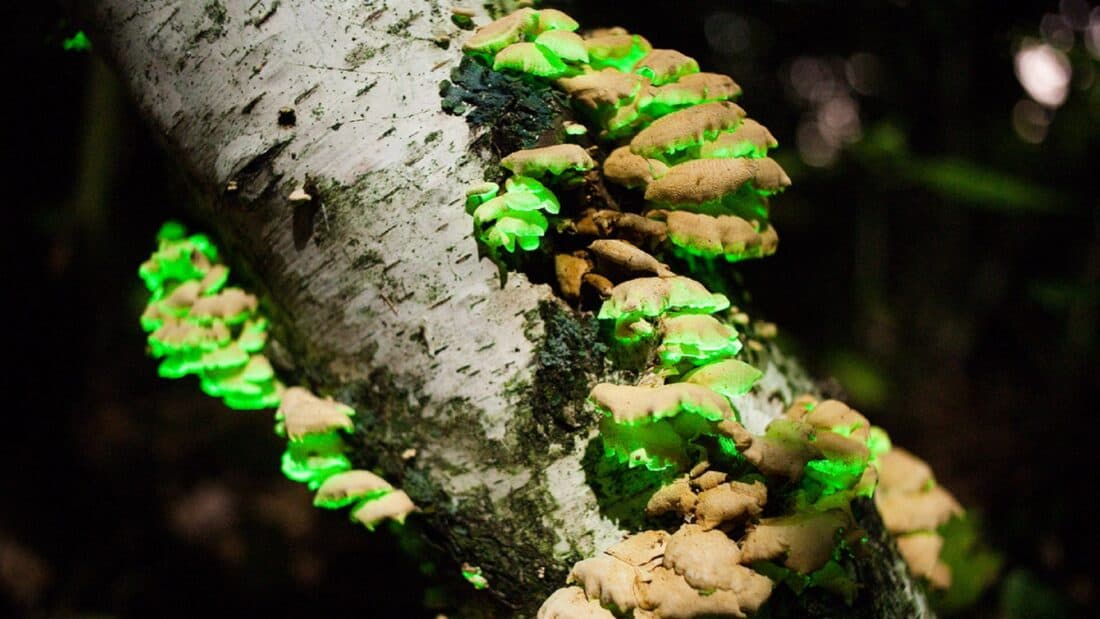
The heat of the summer has me looking forward to the cooler days of fall planting. With a lead time of about two months, I’m going to try growing bioluminescent glow-in-the-dark mushrooms this year. A few magical logs on the front porch, giving off an eerie night light, will next level the Halloween holiday decor. Have you ever grown your own mushrooms? Have you grown your own Halloween glow-in-the-dark mushrooms? This is what I know about the process – I’ll be updating my progress as I go.
Glow In The Dark Mushrooms
The light from glow-in-the-dark mushrooms and other phosphorescent plants and fungi has been documented in literature, as well as by scientists, for thousands of years. Aristotle described these shrooms it as a “cold fire” (when referring to a light emanating from the woods).
Similarly, Pliny the Elder noted them growing (and glowing) on the white wood in olive groves. The Swedes have documented their use for light during dark, winter nights.
In Indonesian and Micronesian cultures, glowing fungi have been used as makeshift torches and incorporated into ritual dress and face paint (source 1).

Scandinavians called the wood that glows “foxfire” or “faerie fire”. The name has stuck with many of the 71 species of glowing mushrooms are commonly called foxfire mushrooms.
For my experiments, I going to grow the variety Panellus stipticus – primarily, it is easy to find inoculated plugs and logs. Also – Panellus stipticus is what you see in these pictures. They look like small, leathery oyster mushrooms that light up at night. It is worth noting that these are not edible or medicinal mushrooms – it is purely for novelty and fun to grow something that glows. (and freak people out with it at Halloween)
How to Grow Your Own Halloween Glow In The Dark Mushrooms
To grow bioluminescent mushrooms, first obtain spores or a culture kit from a reputable supplier. Sterilize a growing medium such as sawdust or a mushroom growing kit, then inoculate the medium with the spores. Keep the mushrooms in a dark, humid environment and monitor their growth closely.

Here is some growing advice from one Amazon reviewer:
What worked best was fresh hardwood, a sealed plastic container, and a wet paper towel in a dark location (open it at times, let it “breathe”). It took less than a month to see the white fungal growth from the plugs, and within two months, I had a pretty extensive mat of growth all along the wood. And all of it glows. I recommend that you don’t put it in a completely dark environment but one with very low light – somehow, the night/day cycle seems to trigger more intense periods of glowing in the early evening.
Materials for a mushroom growing project:
I’m planning to follow the setup advised above, using the material I have available. If you want to try something similar, I’ve included links to purchase what I am using.
- Large storage tub (I’ve order many of these over the years – they are great for general storage as well). It should fit my logs.
- Hardwood logs from my own woods (18-24 inches). I particularly like the look of the mushrooms on the white birch, so I’m going to give those a try first. I may end up using the logs in a creepy woodland container garden.
I plan to keep the logs in my garage, which is dark-ish, but it also gets the change of light from day to night.
You can buy a kit that has everything but the log from Forest Organics on Amazon.
There is also a cheaper option to just buy a bag of 40 plugs (you will also need to provide your own drilled log for this). I am going to try both – I’ll update this post to let you know which works better.
Read more about growing mushrooms:
Animated .gif images of flash-lighted mushrooms found on Wikipedia are in the public domain.
Oh, YES! I’ve been looking for a source of bioluminescent mushrooms/spawn! Now to scurry off to see if these are hardy here- I want to line my paths with them!