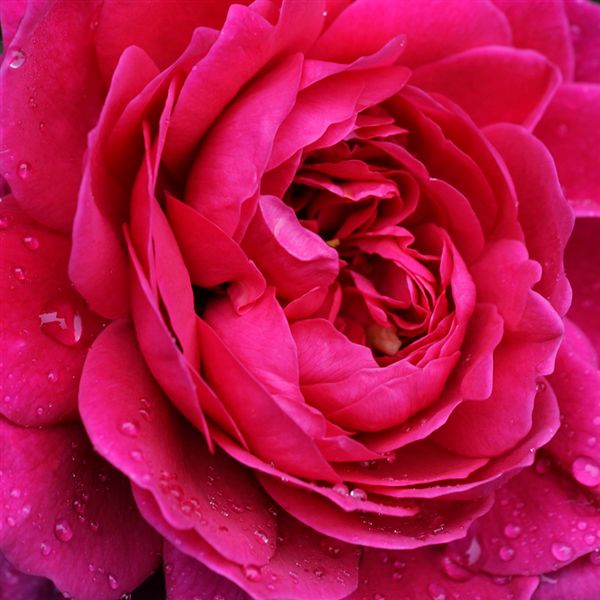
Garden Photography expert extraordinaire, Stacy Bass to is back again to share more of her image capturing wisdom. Handing it over to her…

How to Frame an Image
In college, I was a political science major desperate to be a photographer and…managed to convince the department to allow me write my senior thesis on the politics of photojournalism during the Vietnam War. The topic was fascinating and much of what I studied, and eventually wrote about, concerned how critical and pivotal the framing of an image was to the message that was ultimately conveyed by that image. One example, I recall vividly, was how a vertical image of a march on Washington — because it showed a substantially smaller crowd than a wider, horizontal image clearly would have– helped the reporter or the newspaper to support the position that the march was not well attended.

Since that time, I have been ever mindful of what I have included in my “frame” every time I release the shutter. Though images of gardens and botanicals obviously don’t carry the political significance or impact as photojournalistic pictures shot in wartime, the relevance of framing is still ever important. And despite the wonders of Photoshop and the like, framing in camera is an excellent habit to get into.

Advice from Jay Maisel
Years later, at the Maine Photographic Workshops, I was lucky enough to take a week long seminar with the great Jay Maisel.
I had always admired Jay’s masterful and powerful use of color to convey a story and to translate a moment in time to his viewers. During that seminar, I also learned something that I take with me every day when I work. Jay taught us to look at all four corners of the frame before shooting; to take that extra split second to confirm that you are actively choosing what to include in your picture and what to exclude. Over time, this becomes second nature and I cannot stress enough how important I believe it to be.
There is a tendency — which is logical and natural– for people to “focus” on the subject of the image, only, and to disregard or ignore the background or “negative space.” When shooting botanicals, in particular, I strive to have my images look less like “portraits” of the flower (e.g. front and center and standing up straight!) and instead try to place the flower in the frame in a very deliberate relationship to the background, color, tone or mood that surrounds it. In doing so, I believe the images and also the unique, beautiful or special aspects of the subject are actually given the chance to shine through. I also think the resulting images are more artful and strong.

Try Something New
Next time you set out to photograph that new bloom in your garden, take an extra minute to consider it. Try shooting from a few different perspectives, vary the focal length and your proximity to the subject and really look at, and even try to emphasize it’s context. Also, experiment with the frame. Try shooting the same subject with a portrait and then a landscape approach. How does the change in orientation impact the shot? I find that sometimes the larger proportion of my shots for a day will be vertical/portrait and that this may stay with me for a few weeks until I see a horizontal /landscape shot that I love… and the trend reverses itself for a stretch. If you push yourself to vary whatever your natural orientation may be, you will be very pleasantly surprised and may even make an image that you will remember forever.
–Stacy – Garden Photographer

I get Studio G blog in my google reader everyday and really enjoy your posts. Your post with Stacy’s garden pics made me think of a friend Mike McRoberts, who also does some wonderful macro flower pictures and I thought I’d share a link to his pics. Have a look and keep up the great posts.
http://www.flickriver.com/photos/mmcr-photos/