As the winter drudges on, my patience for a lack of greenery has started to come to a head. I don’t think I mentioned that the polar vortex did some real damage to my over-wintering porch plants. Normally, things don’t get so cold in the back porch that I can’t keep my citrus, a few orchids, and some succulents alive in a sort of mock greenhouse, but this year while everything took a hit, my poor succulents an cactii got the worst of it and turned to a limp soggy messes after some of the bitterest days.
Feeling deprived of my ‘green room’ I thought I would gather some bits and pieces into a table top garden (that isn’t in the porch) to take the edge off. I know I might be abnormal when it comes to having things just laying around, but if you become a regular gatherer, you will find that you too might be able to whip up something like this pretty easily. At the very least, you might have to take a short hike to gather the bulk of the materials.
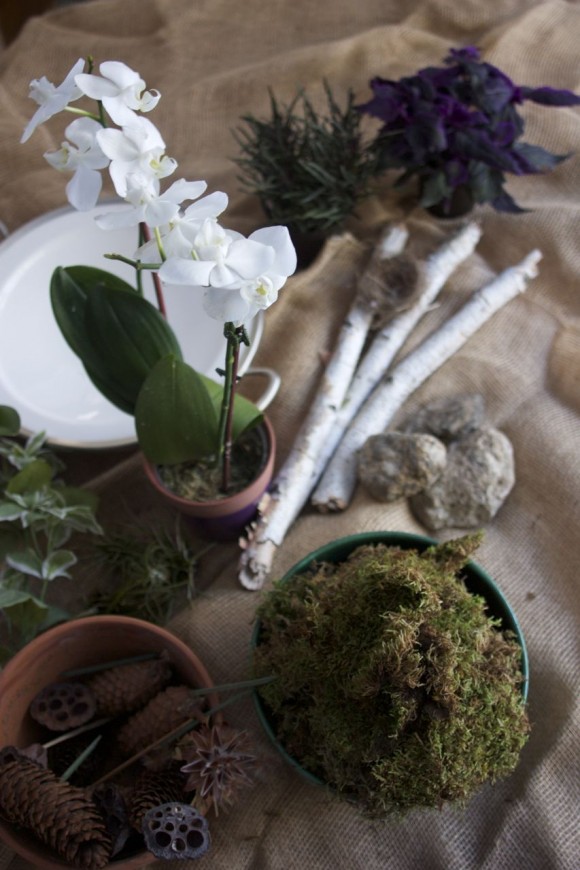
The basic ingredients were a a pretty tray that I happen to have laying around (any relatively shallow vessel will do here), some potting soil, branches (I used birch from my garden), moss, a white Phalenopsis orchid and a Dragons Tongue (Hemigraphis repanda) (which is nicely textured), some rocks, a stem of left over silk variegated leaves (I have no shame when it comes to needing green…silk will suffice), some random air plants that migrate around my home, a few dried seedpods left over from some other arrangements, and a nest that I found on the patio last fall. 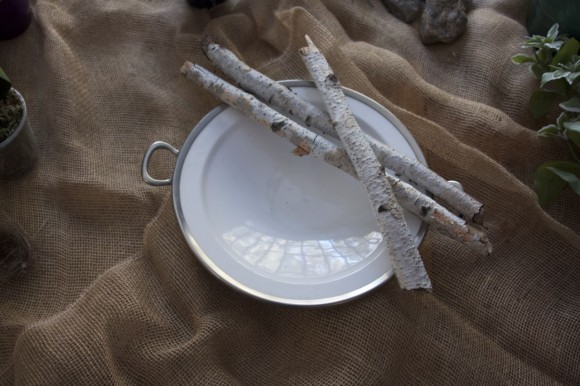
I like to arrange my main elements first. The branches will stay in place better as well as give things structure if you start with them and then build around and over them. 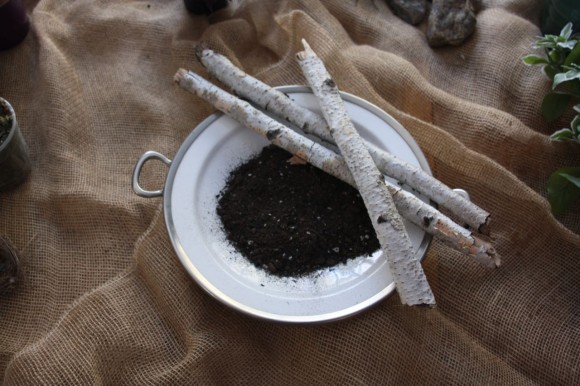
I added a few handfuls of potting soil in the base to help hold moisture and fill the space around the roots of the plants. 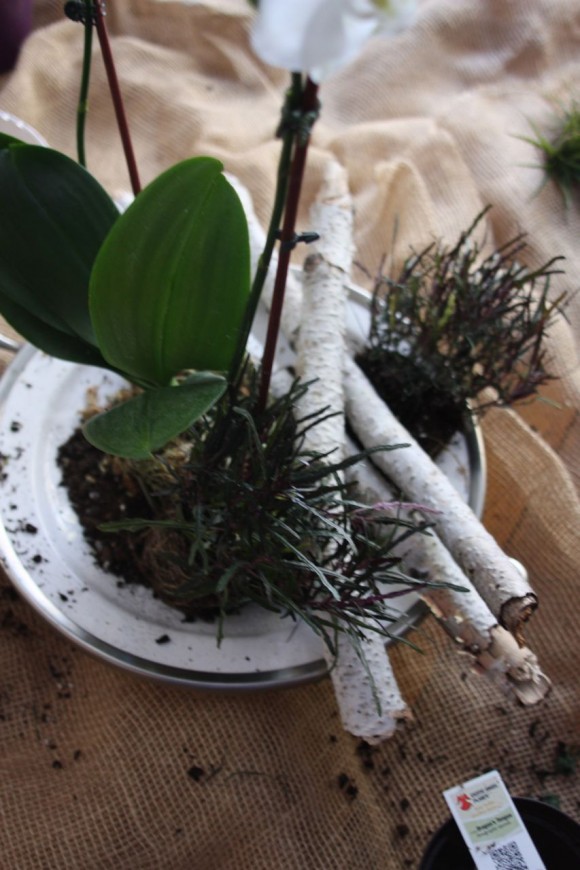
Orchids are epiphytes meaning that they grow on other things and they generally have what are often called air roots which gather nutrients and water from the atmosphere. You don’t need to bury these roots in the soil, instead you can gently reshape them after you remove them from the pot so that they will lay over your arrangement. I also had one pot of the Dragons Tongue (Hemigraphis repanda) which I gently separated into two clumps so that I could get some repetition into my arrangement. Repetition is good and at this scale it can cheaply be achieved by splitting bigger plants. 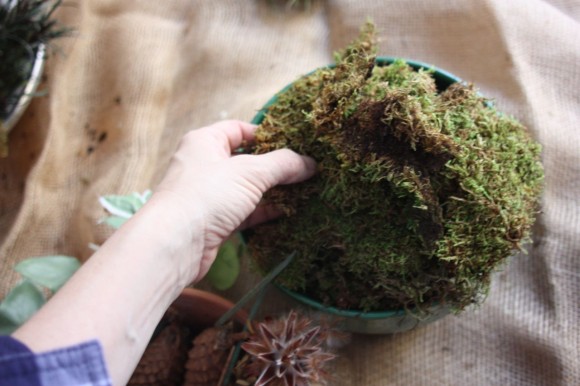
Sheets of moss will give the finished look to the arrangement and hold it all together. I gather moss in the woods but also have been known to purchase it in to-go containers from a local flower shop. Wet it (don’t make it drippy soaking wet – because that is just a mess waiting to happen) so that it is damp and pliable before you begin. 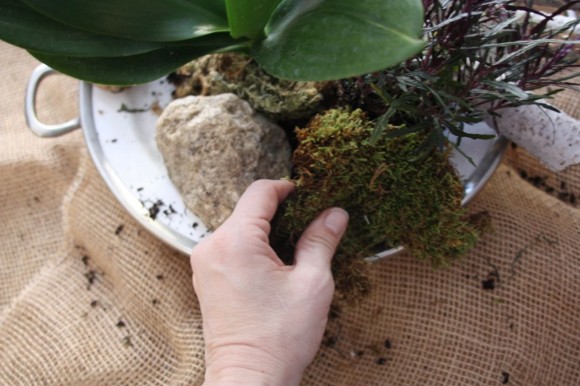
As you add the moss, add in other details like the stones at the same time, filling the vessel to overflowing. (There really is no need to not have this casually and naturally drape over the edges…it will look much more authentic if you let it go a bit and don’t get too fussy. 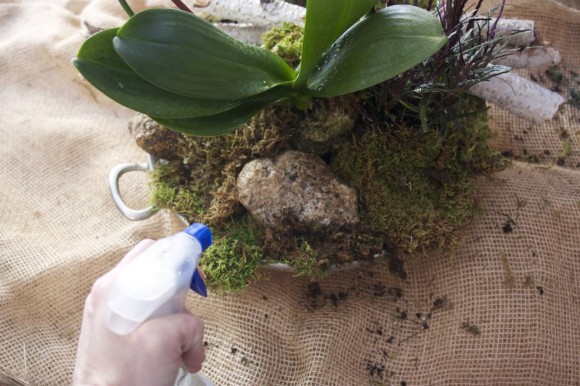
Once the big pieces are in I spray it with some water. This helps everything to settle together as well as giving it a little drink. The spray bottle will come in handy for regular waterings and maintenance later.
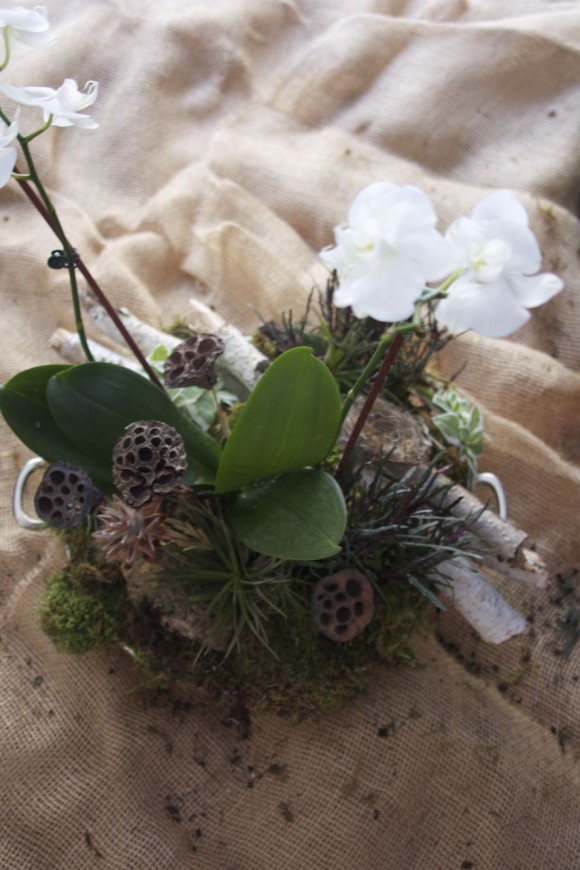
The final piece is to add the extras like the seed pods, the air-plants and the leaves. Focus on texture and varied shapes and shades of greens to create interest. You can also add mushrooms, bulbs and other woodland treasures to your mini garden. Again – whatever you have around…. I have put small figurines and lego people in these arrangements before. 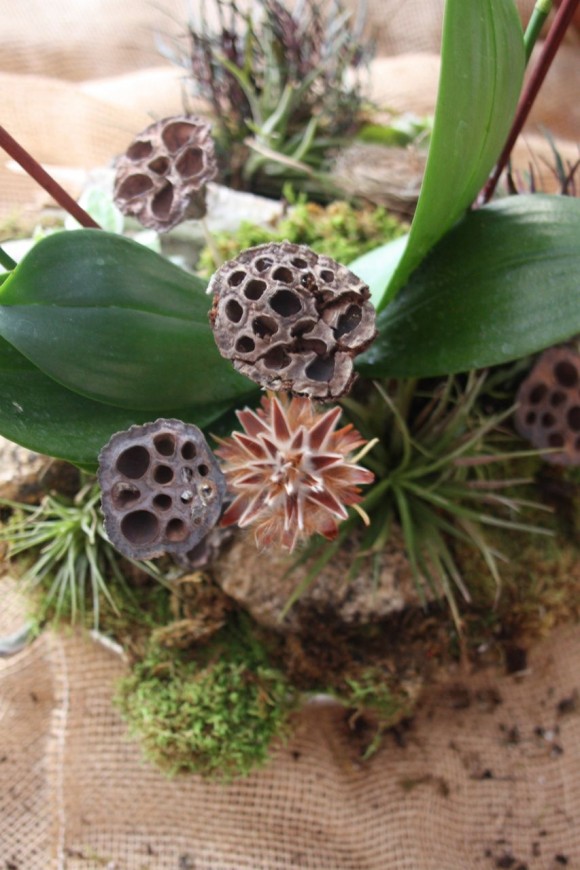
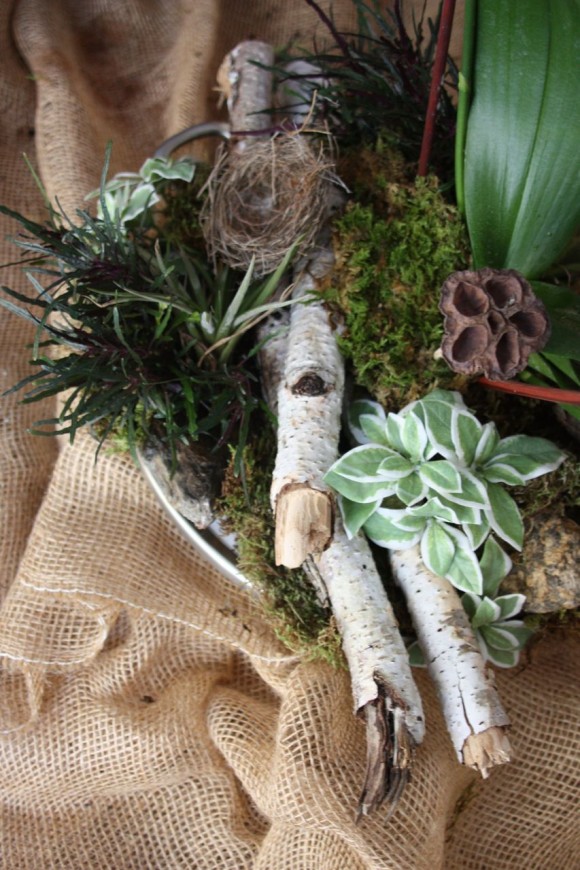
The final mini-garden is a pretty and textural centerpiece whose small details delight in the same way that the forest floor invites exploration and the discovery of small treasures. This will easily last weeks (or more) with regular spraying and protection from polar vortexes. And, if at a later time you want to freshen it up – most of these items can be re-used in a new garden. There isn’t much of anything that I would throw away (unless it had died) and I will use it all again the next time I am feeling a need for a little green. 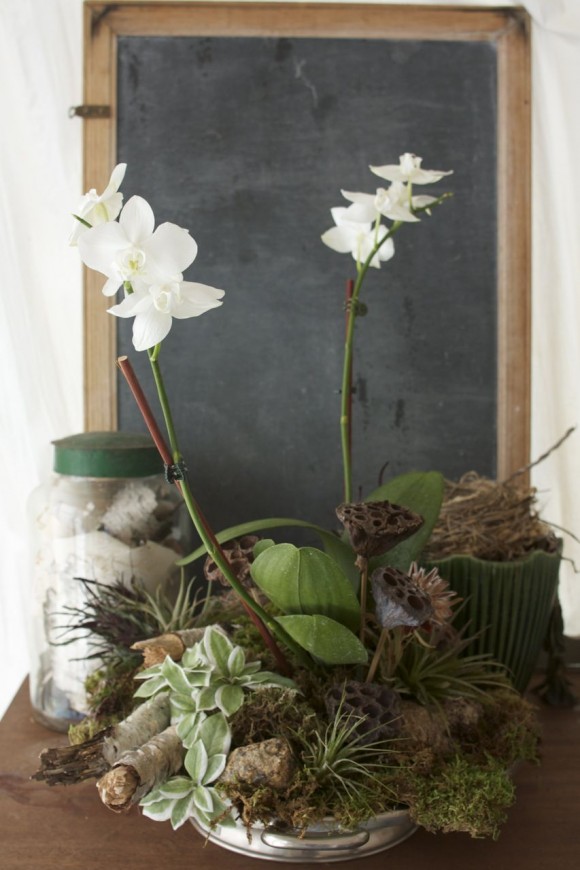
images by rochelle greayer
Disclosure: This post is sponsored by Lowes. This is a series that I am doing through the end of the year. I am not an employee of Lowes and all opinions are my own. See the other posts in this series.

This is such a fabulous idea, and a beautiful arrangement.
How long will the Orchid last in this arrangement? Will it last until it needs to be re-potted?
Lovely!