Wasabi (Latin: eutrema japonicum or wasabia japonica), and the idea of growing it, brings back memories of my long deceased grandmother. She was a lifelong Montana rancher who passed in 1998—right about the same time that I discovered that pungent green paste called wasabi.
My grandmother was an original horseradish hobbyist. I have many memories of overheard conversations where she discussed her plants and her tribulations. The goal was always towards growing ever more potent varieties.
(To my knowledges she only ever grew American varieties of horseradish – which are white).
I never got to tell her about wonders of green japanese wasabi (seiyō wasabi – or western wasabi). I’ve always wondered if she already knew of it— and if this difficult to grow plant was, perhaps, her gardening white whale.
I am, however, quite sure she never tried it. The selection of sushi restaurants in Central Montana remains quite slim and in her day they were non-existent. Fake wasabi (typically made of powdered horseradish, mustard, tapioca starch, and green food coloring) makes up 99 percent of the market in the United States. It seems unlikely that the even the fake would have graced her receptive palette; never mind the real (and rare) wasabi that fetches as much as $200/lb.
Unlike the fake stuff, real wasabi is purported to be profoundly potent but finishes gently sweet, clean and herbal. It doesn’t have the same lingering “afterburn”. It is noted for its strong antiseptic and antibacterial qualities and this is why it is traditionally served with raw fish. I long to try it.
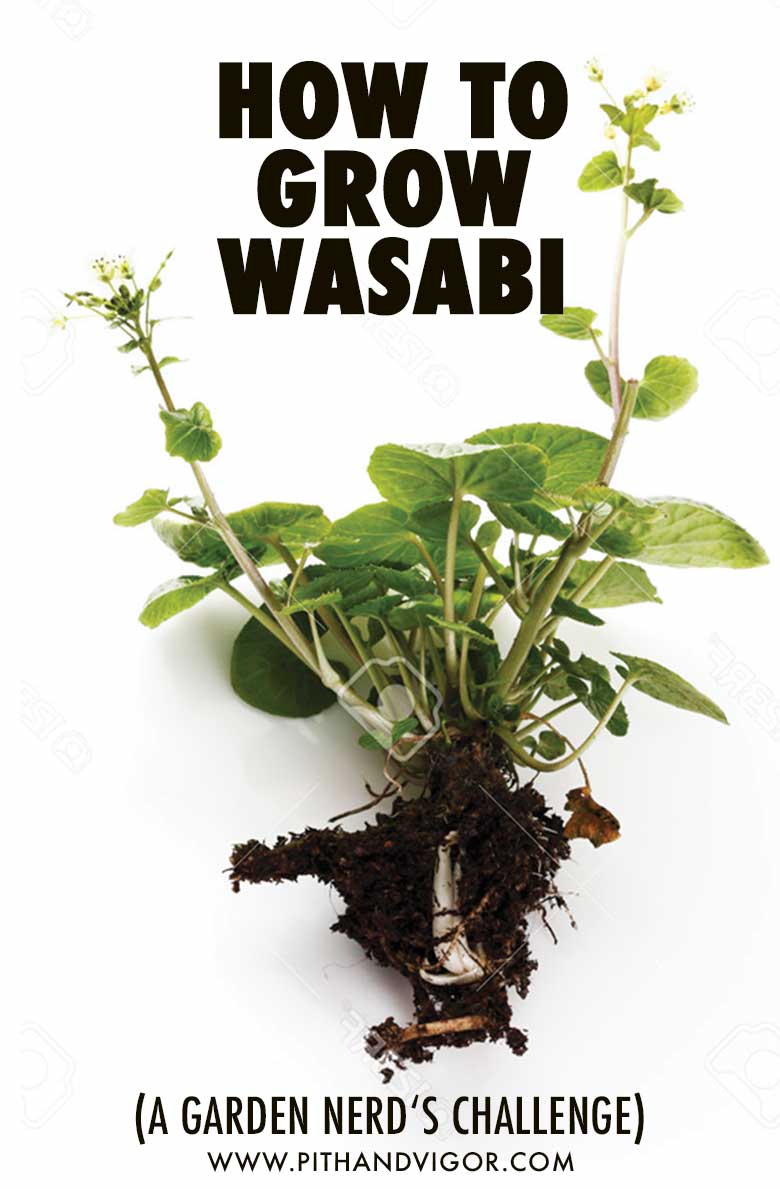
Growing Wasabi Plants
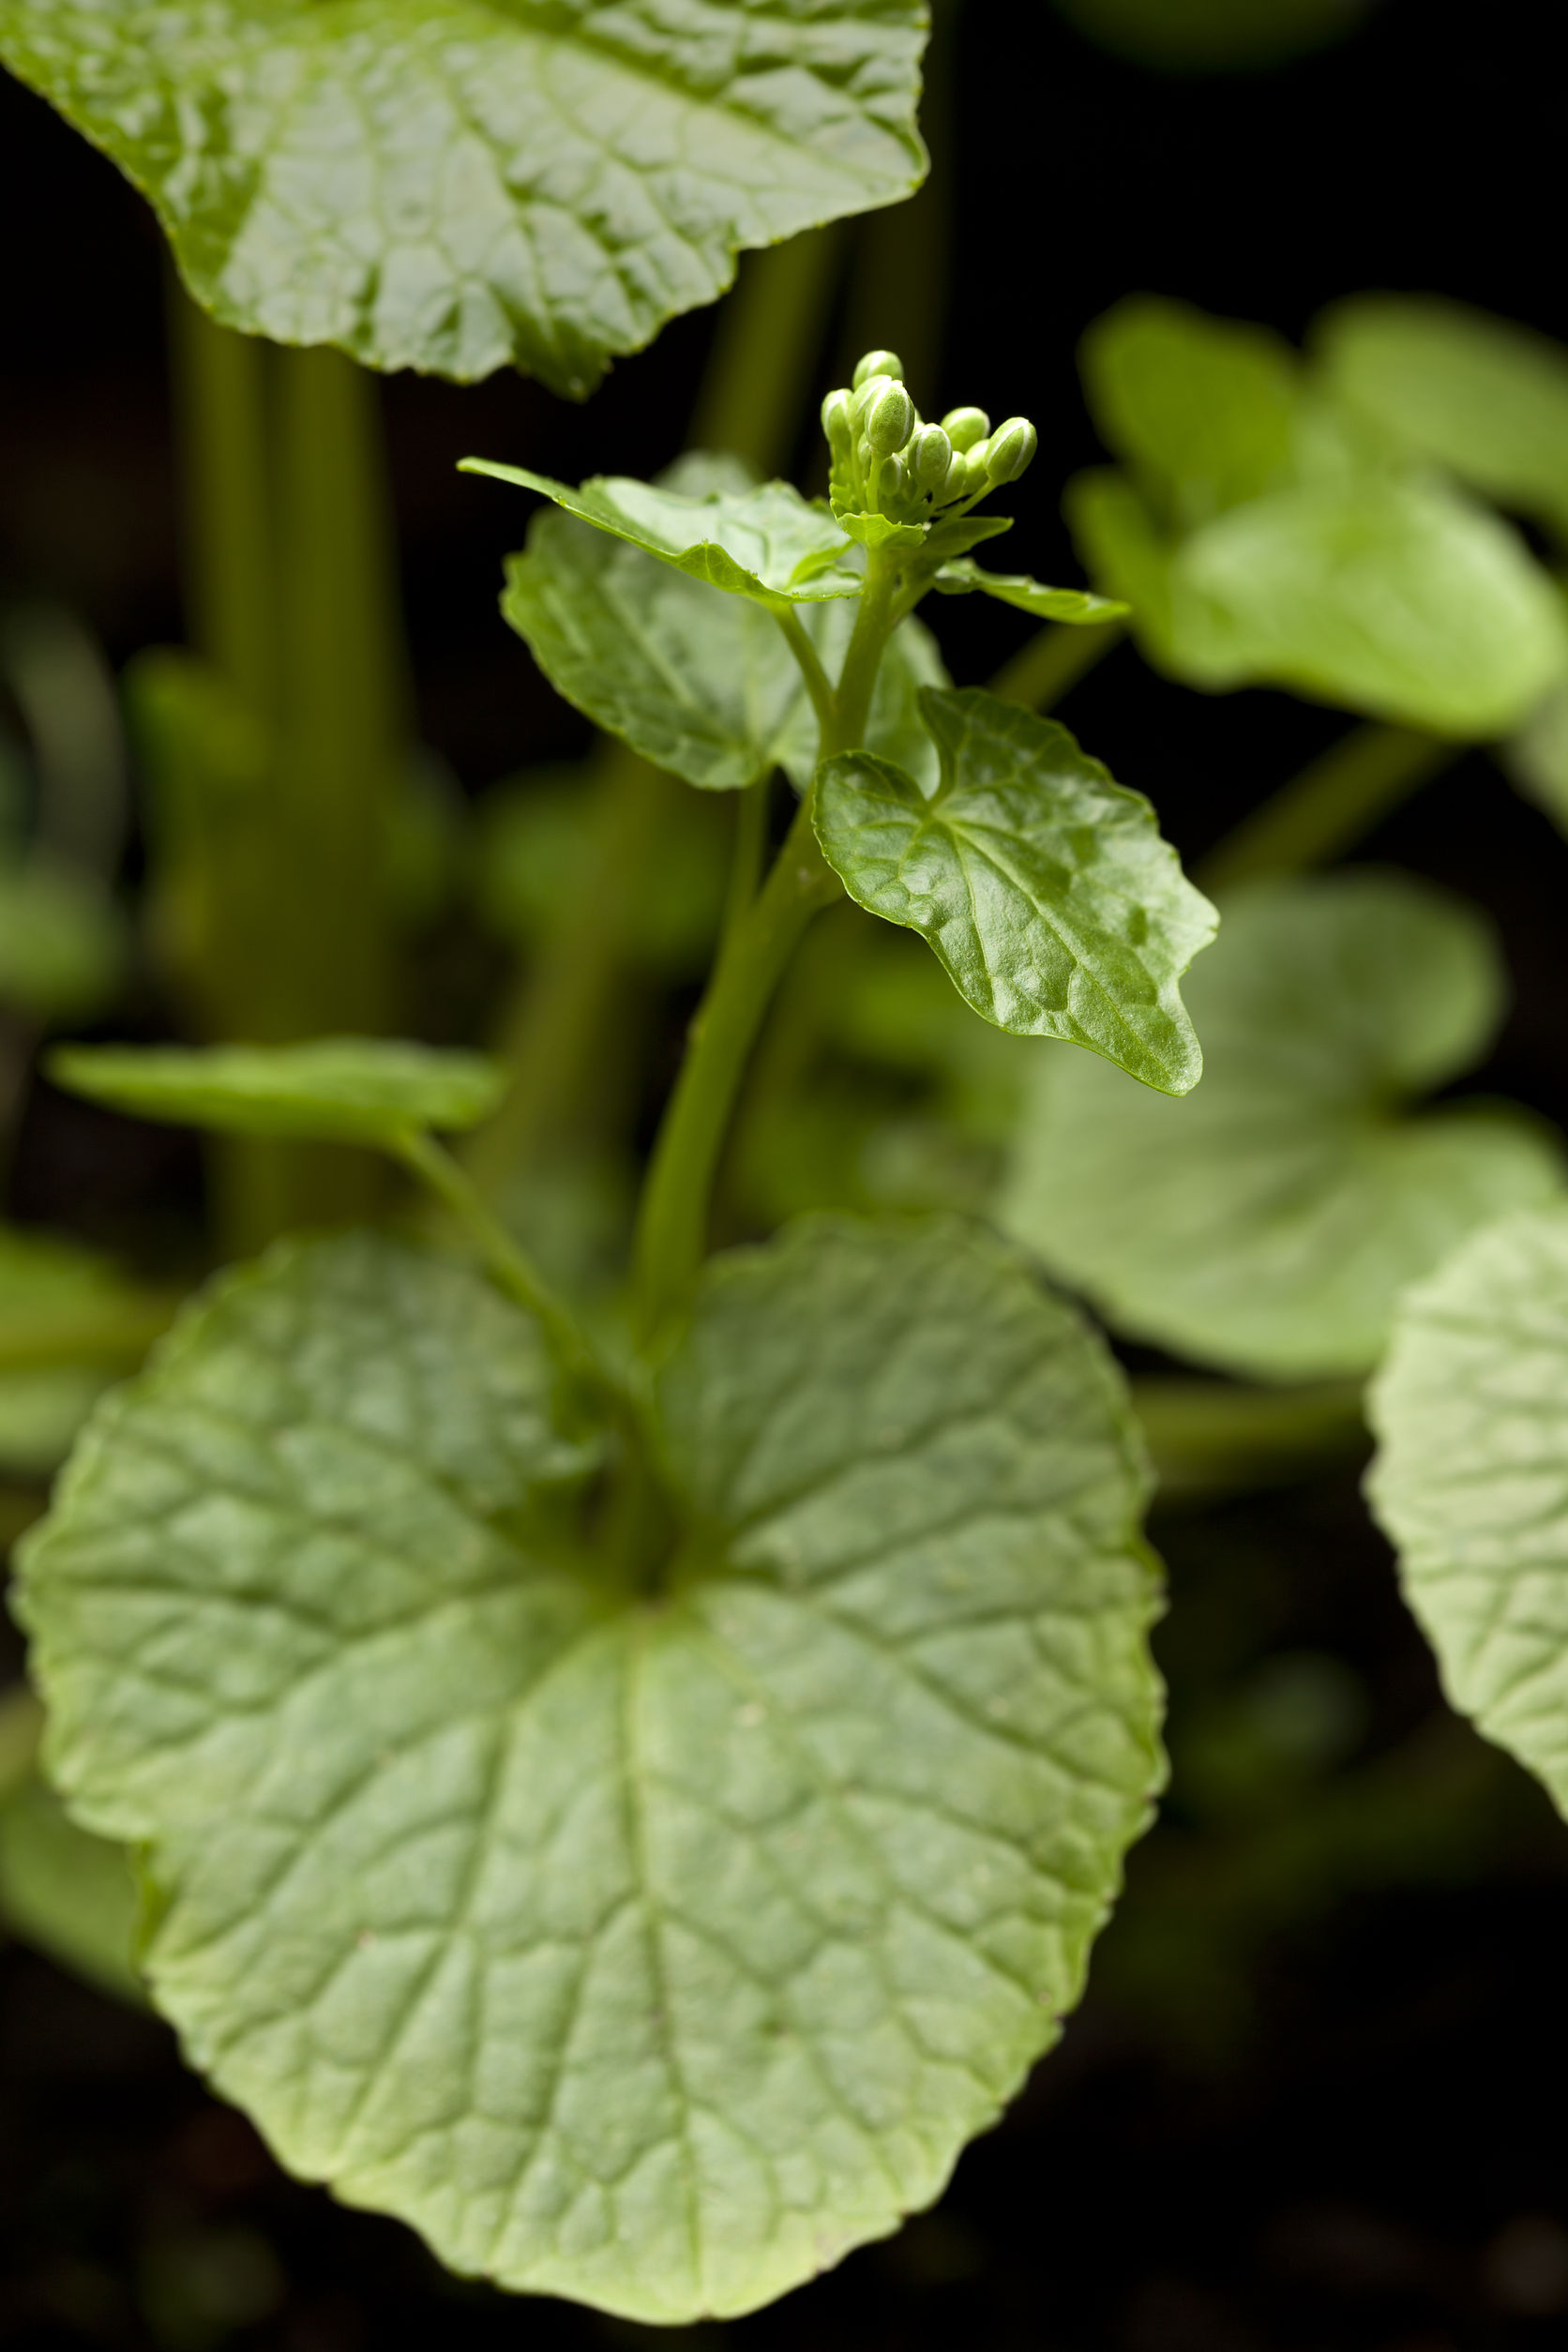
Growing wasabi plants (Wasabi japonica) are a challenge that not many home gardeners attempt. How-to information—even on the internet—is slim. Especially if you want to attempt growing outside of those few climates (the pacific Northwest and some areas of the Appalachians) that resemble their native habitat in Japan.
There are two different ways to cultivate wasabi. Plants grown with a semiaquatic method that resembles the native cool mountain streams of Japan are referred to as “sawa.” Field wasabi or “oka” refers to plants grown in fields. This method can be replicated in containers for gardeners who live in areas where the plants will not survive the cold winter temperatures. (Such as New England).
Commercial growers in Japan tend to guard their methods with intense secrecy. Some, outside of Japan, charge a lot of money to share their growing tips even with everyday enthusiasts.
Getting Wasabi Plants in the United States
In the USA, Frog Eyes Wasabi, on the Oregon coast, has developed its own commercial methods. They also sell plantlets to those who wish to give it a try in the Pacific Northwest. The plants come with little extra help for those in other regions.
A few years ago I had a brief chat with a Frog Eyes staff member and they confirmed it is possible to container grow wasabi in New England. I’m encouraged by their guidance and information. This is definitely a plant for those with an experimentalist attitude, who appreciate the prize of a hard earned task.
One grower I read about likened the process to making a very complicated cake. It is something that takes time to learn and practice but once figured out, is not so hard. In memory of my grandmother, who I know would get tremendous joy from spreading some fresh wasabi across a Montana-raised angus steak, and for the sake of saying I figured it out, I am going to plant wasabi and give it my best try.
Cultivating Wasabi In New England
Wasabi is a cruciferous vegetable and is a member of the brassica family (Brassicaceae family ).
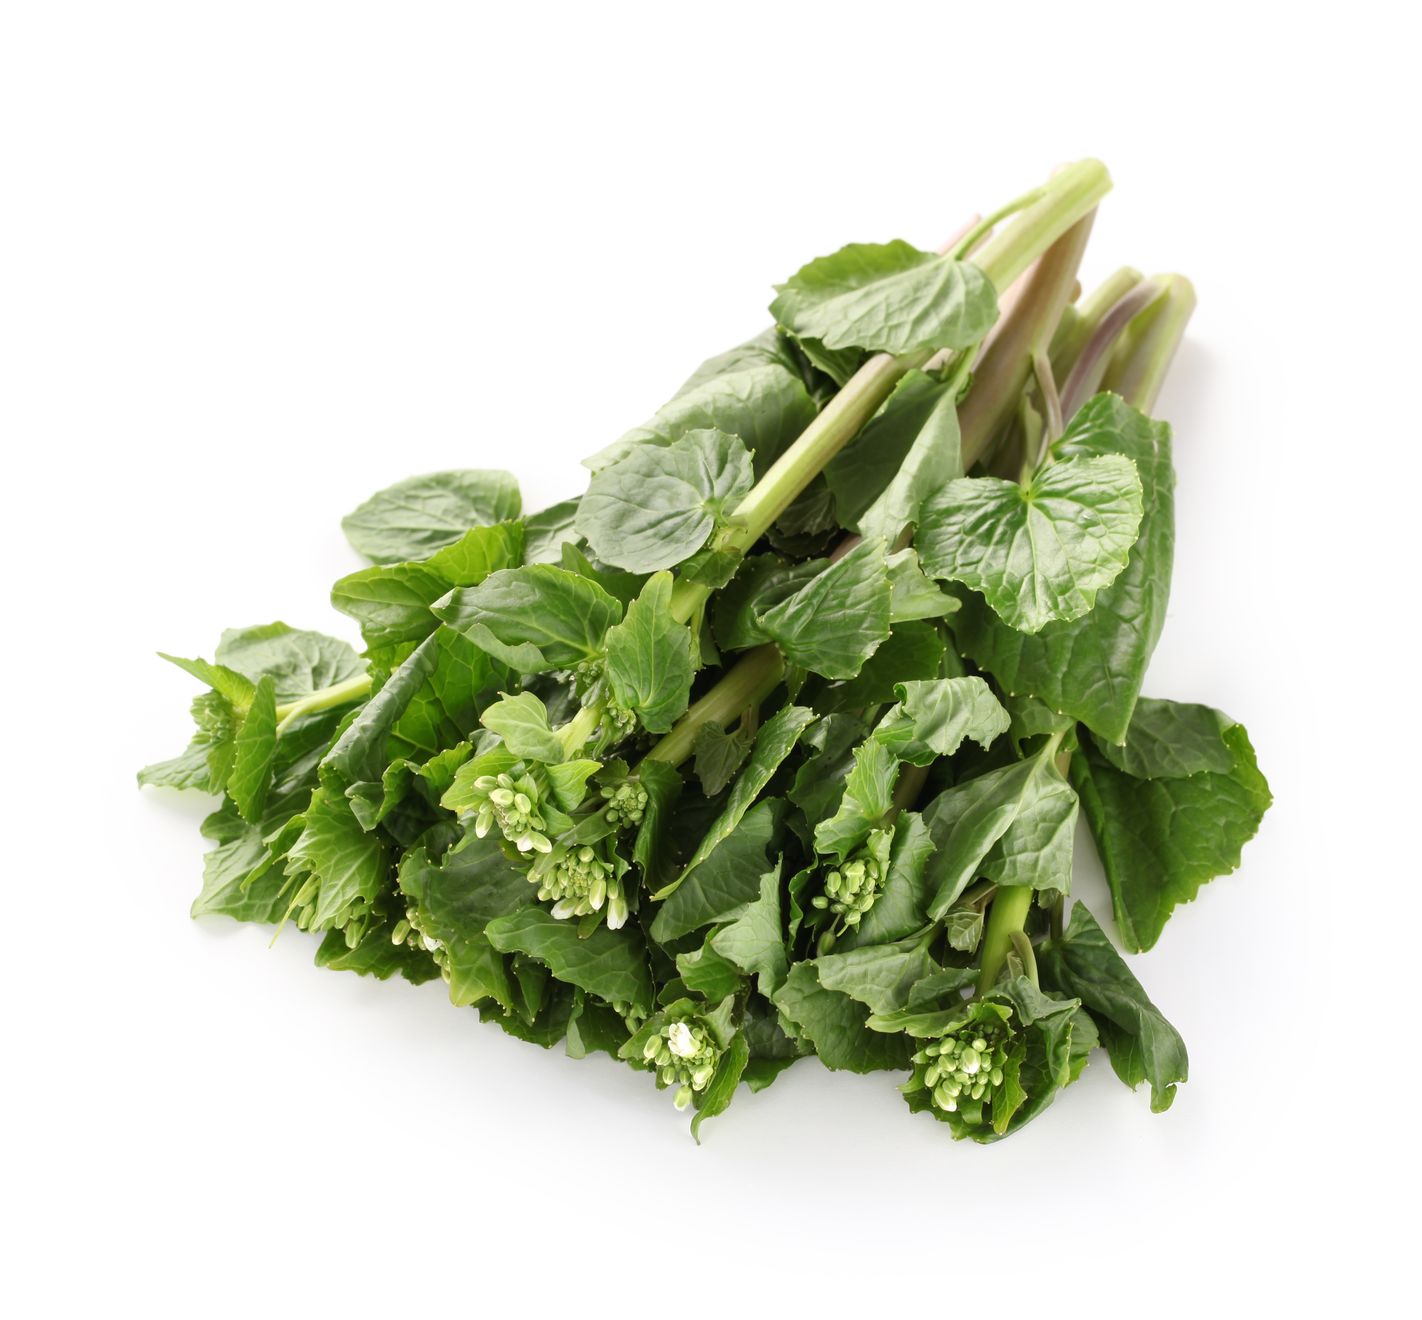
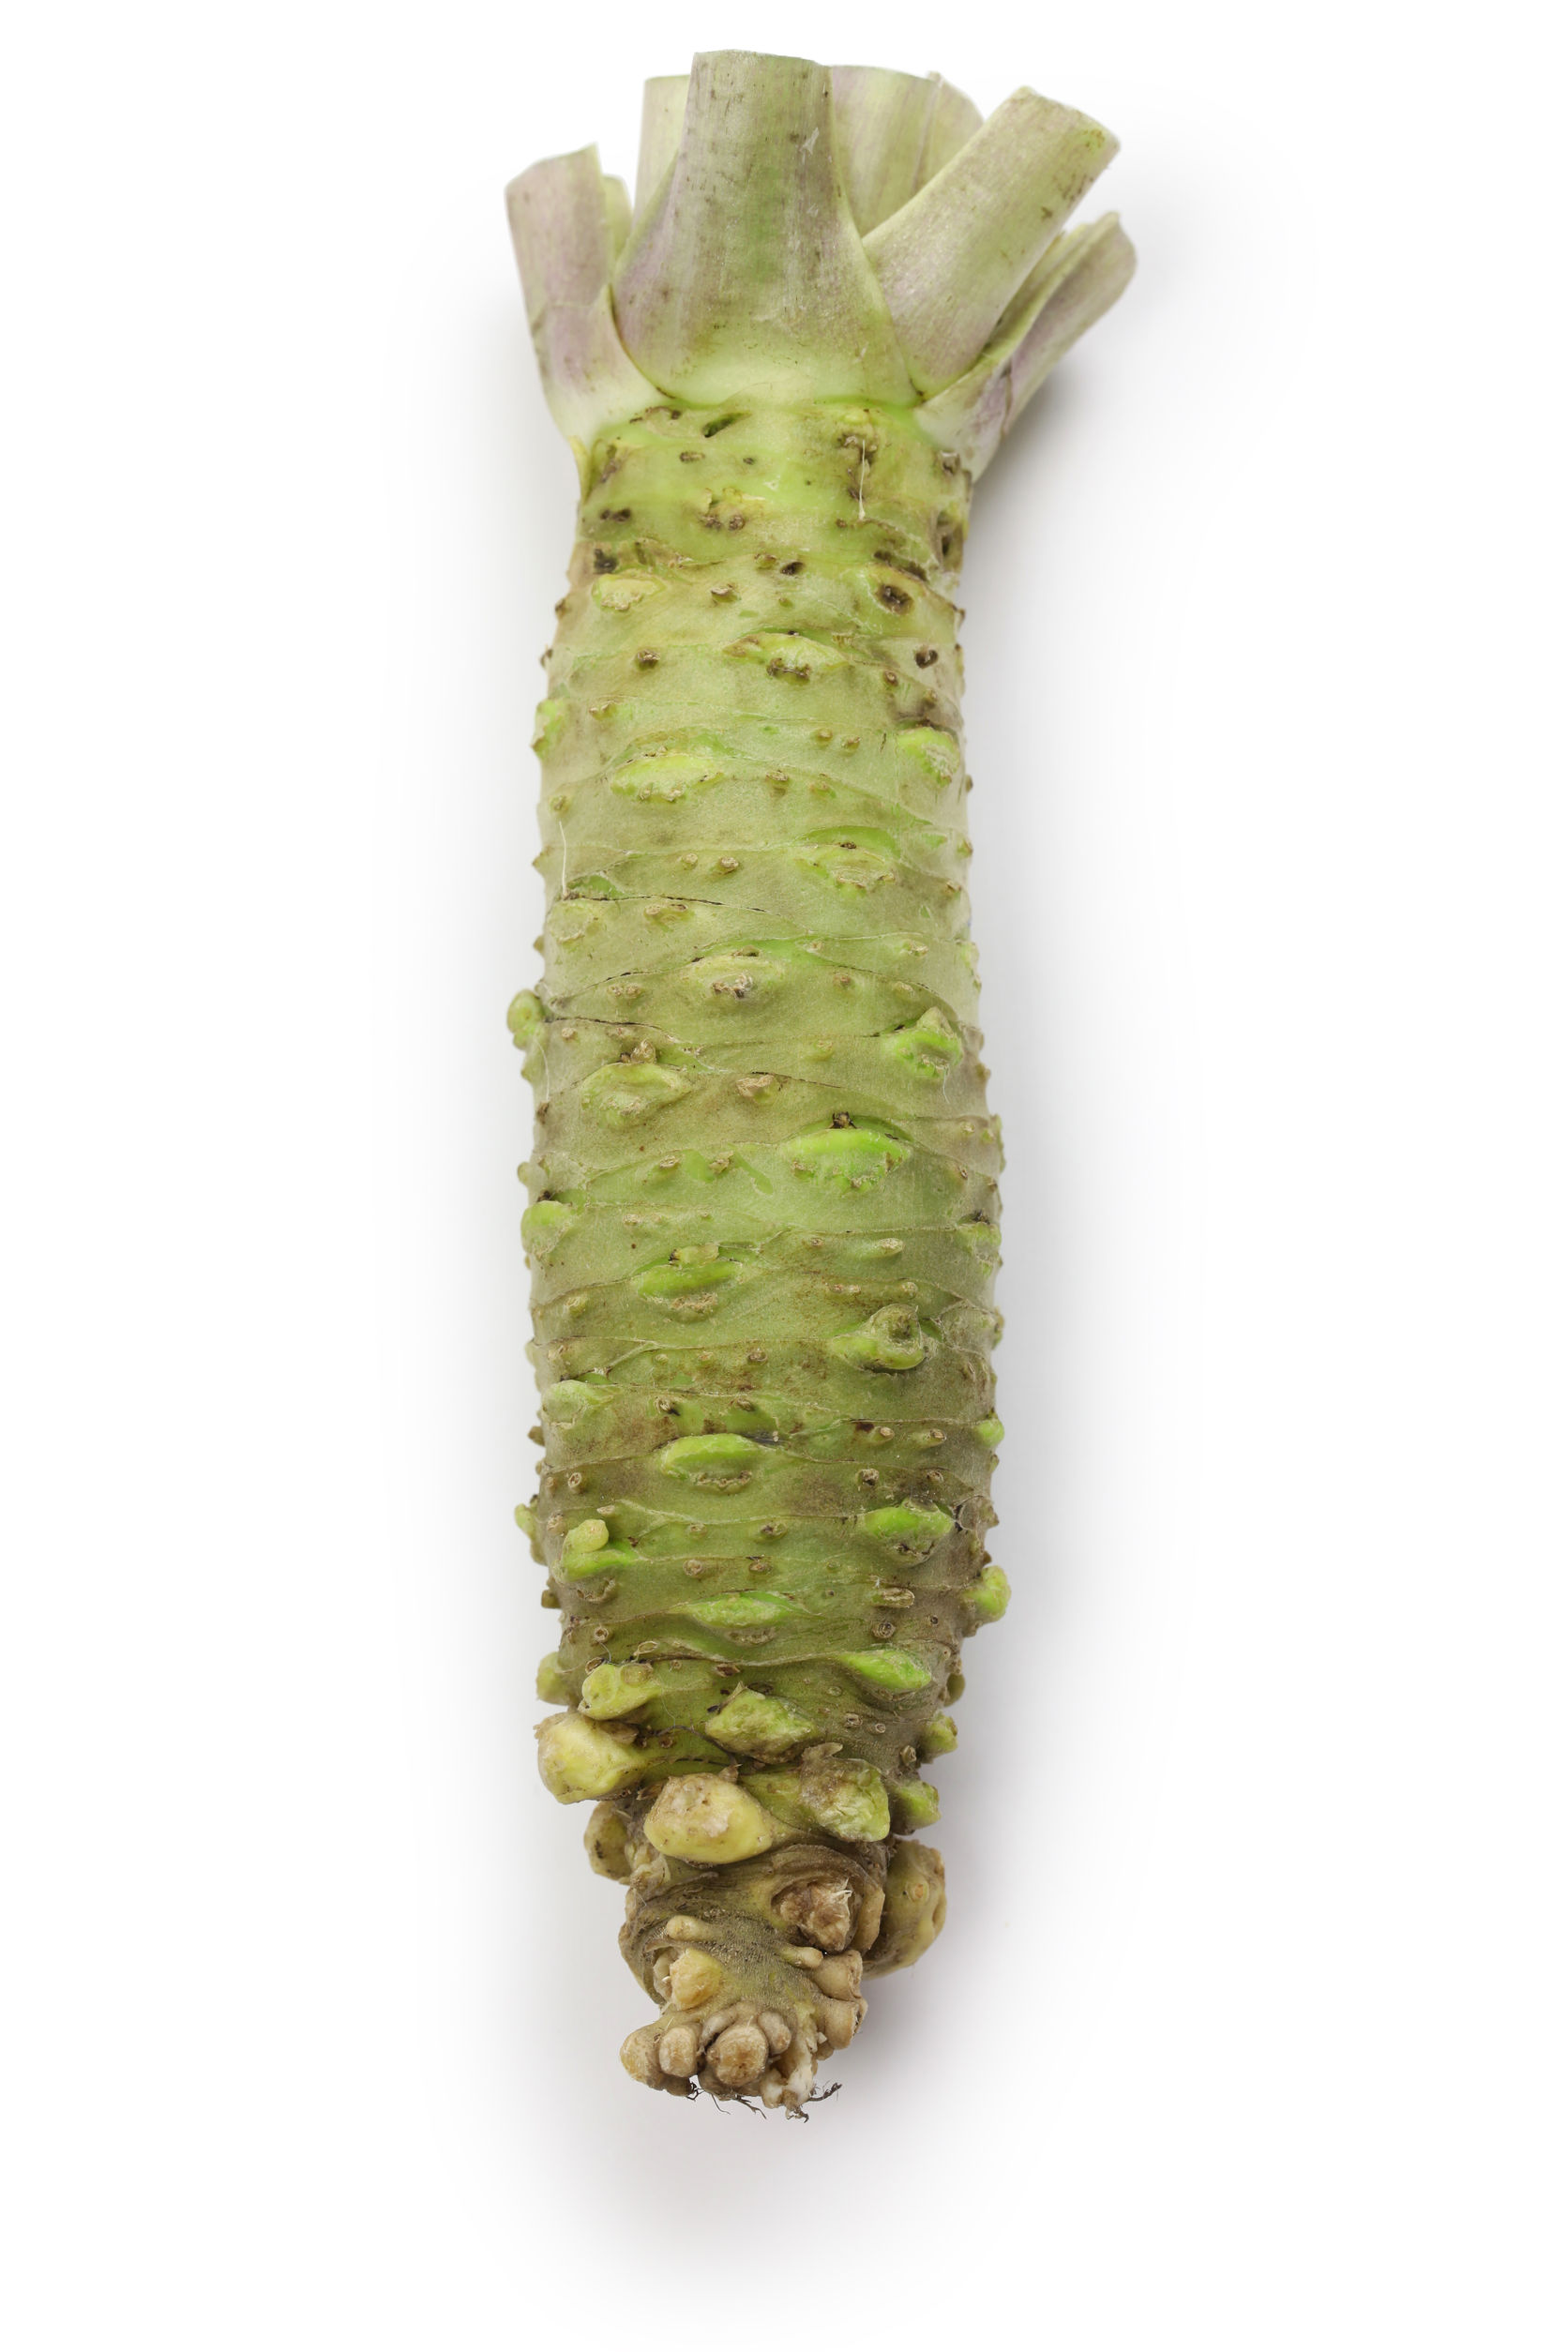
The entire plant is edible, but the prized paste comes from grating the rhizome. For best results, you must consume it within the first 15 minutes of processing—otherwise it deteriorates quickly.
Wasabi (wasabia japonica) is a semi-aquatic plant. You need to keep your own cultivated wasabi in an environment that emulates the stream beds where it grows naturally.
The wasabi plant likes very shady conditions (full shade) and very wet soil (make sure you have consistently moist soil), but also well-drained soil. It’s native environments are along cool spring beds in New Zealand, Japan and other parts of Asia.
If you are starting from seed you have a long wait. Only after 18 months to 2 years or more (this is a slow grower that takes much patience), the well-grown plantlets will develop a harvestable rhizome. Before that time, some of the leaves can be harvested and eaten.
My Wasabi Cultivation plan
My plants will be grown in a container so that when temperatures fall in the late autumn, I can move them indoors. Probably relocated to the basement near a window that gets little to no direct sunlight—and where temperatures are cool and moist.
They will not tolerate direct sunlight outdoors. I will try them out in the shade of my rhododendrons on the north side of the house. These plants prefer cool temperatures ranging from 45-70 degrees Fahrenheit. A shade cloth might become a necessity on warm days.
My first choice of location will be to grow them beneath the ever-dripping faucet where I connect my garden hoses. The soil there drains well and I can easily maintain the required high levels of moisture.
My plan is to dig the pots into the ground, allowing space for the pot to be completely buried.
Recommendations I have found, advise a 6-inch pot to start and then transplanting after a year to a larger 12-inch pot. It is important to remember to not bury the crown when planting—make sure at least 1/2 inch of the crown is above the soil.
Some growers opt for hydroponic methods, but I am going to opt for a straight compost medium with lots of organic material and a thick layer of sand at the bottom of the pot to assist in drainage. Heavy mulching will help to maintain the required moisture and humidity at the ground level.
You can grow wasabi seeds (many suppliers are found with a quick Google search). But, given that these are some of the most difficult plants to grow, I will keep things easier and start with plantlets (new plants).

Pests, Problems, Fungal Disease & Maintenance
Wilted or yellowing leaves are an indication of too much sun. Extra water can cool and hydrate stressed plants through limited periods of direct sunlight. But if the situation persists, plants should be moved to deeper shade.
Slugs and snails can be problematic and should be controlled with commonly accepted bait. Also, watch out for aphids and caterpillars. Pick them off and use an organic insecticidal soap to get rid of them, or try biological controls such as beneficial insects. Alfalfa looper larvae and cabbage worms can also be a problem.
It is good practice to apply a good vegetable fertilizer a couple times per year.
A fungus called Phoma wasabiae (also called black leg disease) can be a problem (particulalry if the weather is warm). The disease will cause black spotting on the leaves, petiole, and stem surfaces and it may spread to vascular tissue.
Wasabi Growing Tip – How to make it more pungent:
To increase the plant’s pungent taste, add elemental sulfur also known as “flowers of sulfur” or aluminum sulfate to the soil.
Harvesting Wasabi
Harvest when the central wasabi rhizome (both above and below the ground) reaches 4-6 inches and 0.5-1.0 inch in diameter. This can be done in early spring through late fall after a rainfall. Pull the entire plant up and remove the young plants (also called plantlets) around the rhizome. These plantlets (young plants) should be washed, dead or dying leaves can be removed and replanted for the next harvest. Break the roots off the rhizome and remove and retain the stems and leaves (these can be eaten as well).
Preparing Fresh Wasabi
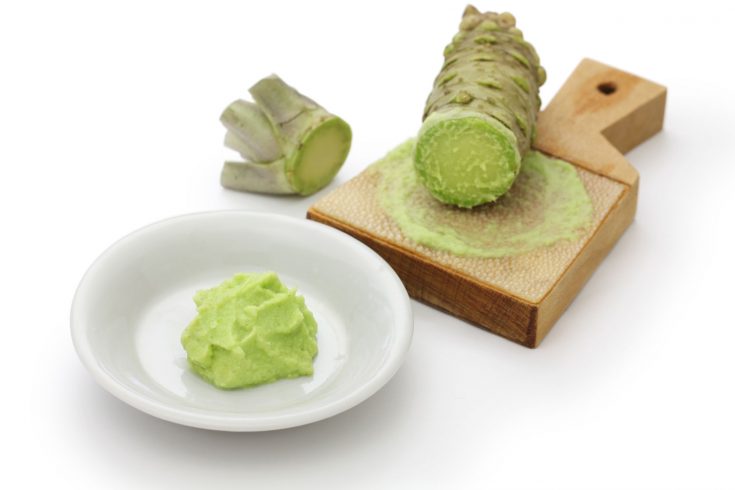
Use a vegetable peeler to shave off the outer layer of the rhizome. Then grate the central portion of the rhizome. You need a very fine grater to prepare the perfect wasabi paste. Traditionally, the Japanese use a SharkSkin or Oroshigane grater.
Grate the stem in a circular motion on the grater to produce a fine, soft paste. Mould the paste into a loose ball and allow it to rest for at least 2-3 minutes to develop its characteristic intense heat and sweet flavour.
Leave unused portions unground and store them in the refrigerator. When another serving is desired, remove the oxidized layer that will form over the previously grated area and serve it with sushi, sashimi, or steak.
For increased volume, the leaves and stems may also be pureed into the preparation. Grated wasabi will not retain its flavor for very long (it deteriorates significantly within the first 15 minutes) so plan to serve it immediately.
Ungrated harvested wasabi root will last a few months. While waiting for the rhizome to grow you can harvest some petioles (leaf stems) and leaves and use them in salads or as garnish to add a mild wasabi heat. Don’t overdo this harvesting though, too much will lead to slower rhizome development.
Learn More about Growing Wasabi From Frog Eyes Farm.
Other Posts you might like:
Images:
Copyright: cokemomo / 123RF Stock Photo


Did you ever successfully grow wasabi?
[…] If you are growing it in large quantities, you should also know that it is susceptible to diseases. If you are still ready for the challenge, you can take up planting it; the flavor and taste are actually worth the stress. If you are interested in growing this plant, you can get some help from the following blog. […]