We are replacing our (now smashed due to last week’s tree removal) cheap metal rail garden fence with a much more attractive split rail fence. I have been considering the differences (both cost and aesthetic) between split rails versus snake rails versus vinyl fence materials, as well as even wood crate rail fences and chain link fences. I’ve eliminated some out of hand.
The idea of a vinyl split rail fence is so incongruous with the beauty of an actual wood split rail fence that I just can’t imagine. A wood fence quickly evolves a beautiful patina that lends a rustic look to any garden Vinyl products evolve from unnatural shiny crap to even uglier moldy warped, looking garbage, and they are wholesale banned from any landscape I work on. (basic principles! blech!)

I am also eliminating woodcrete rail fences because I have no need to exacerbate the climate crisis because I think cement posts and rails will “last longer”.
You and I don’t need concrete fence posts unless you plan to live long witness to climate collapse.
Concrete and cement production is responsible for about 8% of carbon dioxide emissions, which is more than the global carbon emissions from aviation.
A good wooden rail fence will last longer than you will likely own your home – and even if you do happen to be there for a very long time – then you’ll still save when you refresh in a couple of decades.
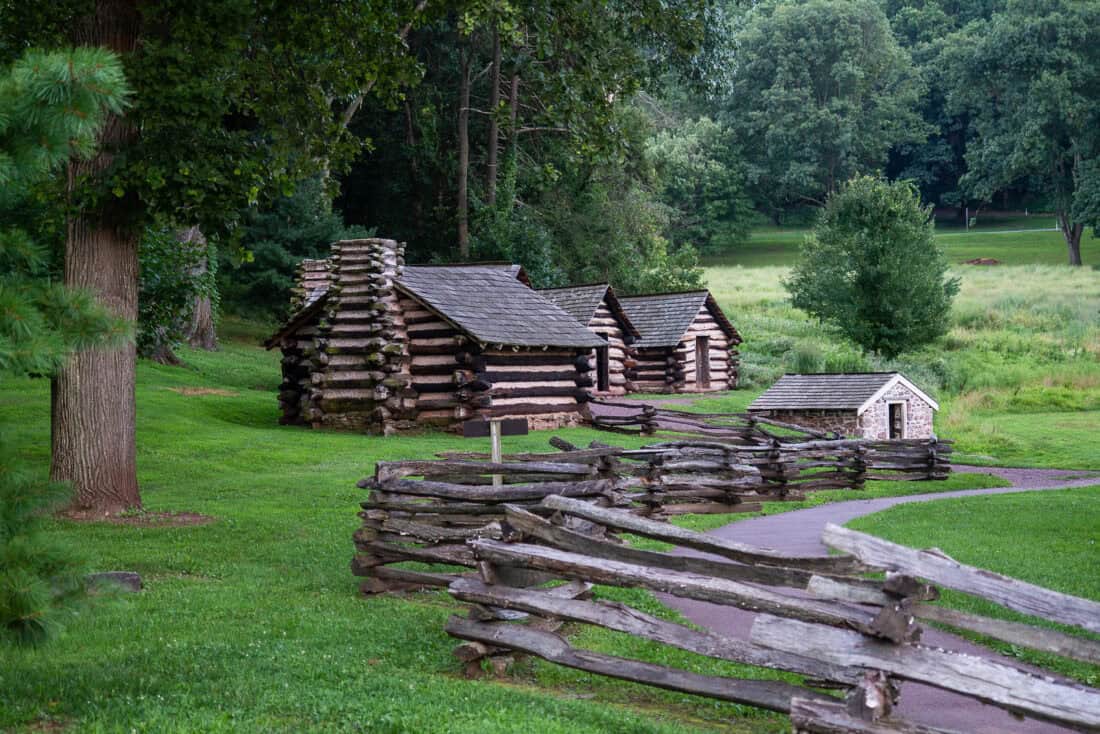
What is the difference between a snake rail fence and a wooden split rail fence?
Snake Rail Fence
Snake Rail Fence is also known as a zigzag or worm fence, doesn’t require any hardware or digging post holes, which is a big plus in rocky or hard-to-dig terrain. Imagine a fence that literally snakes across your property: it’s made up of wooden rails that stack in a zigzag pattern, creating a distinctive, no-nails construction. This design is super flexible in terms of contouring to your land, and it’s historically been popular in areas with abundant timber.
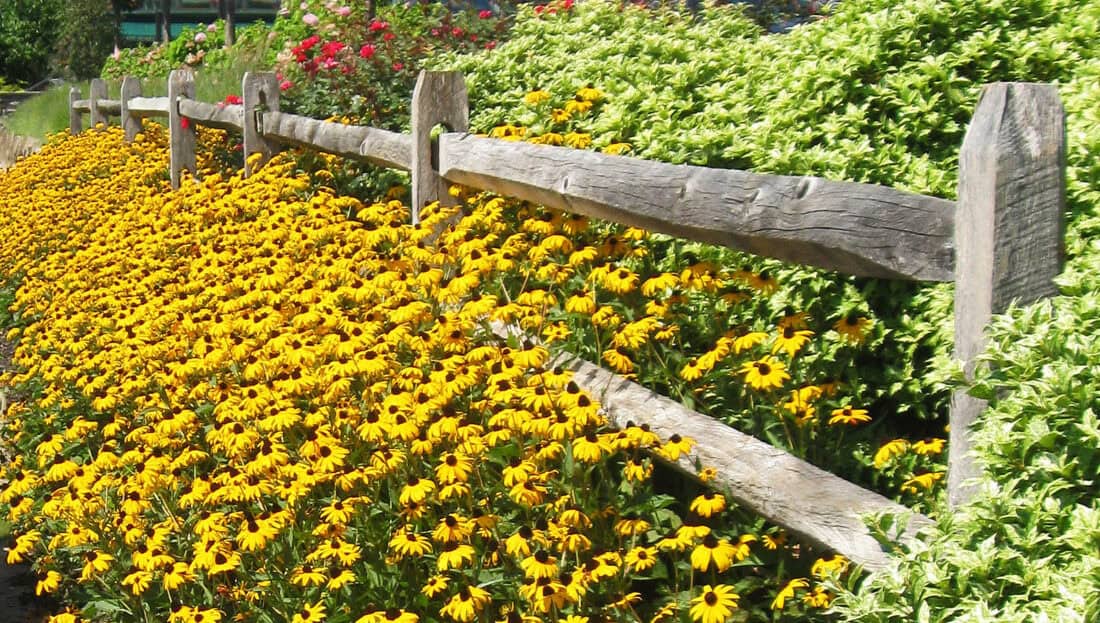
Split Rail Fence
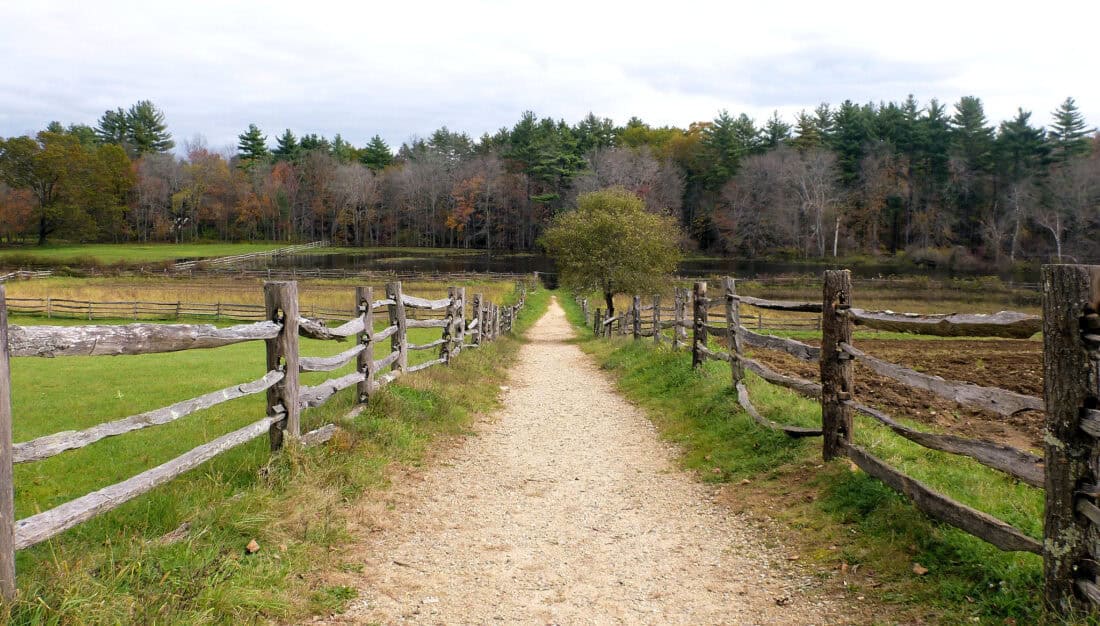
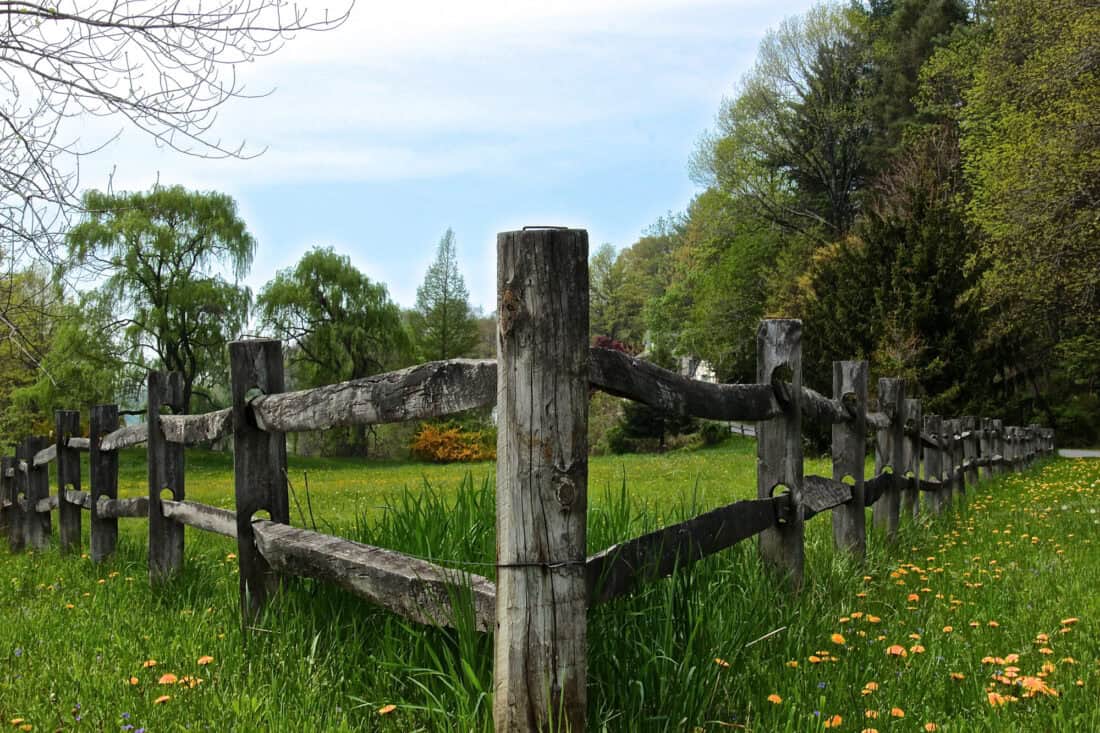
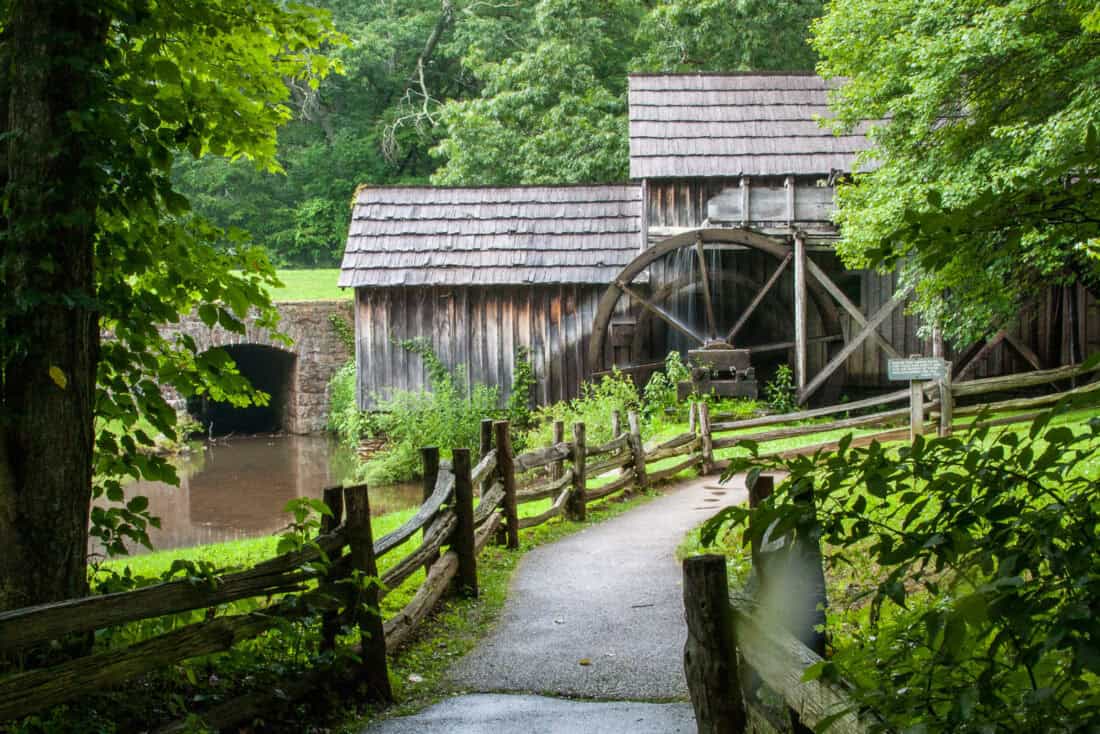
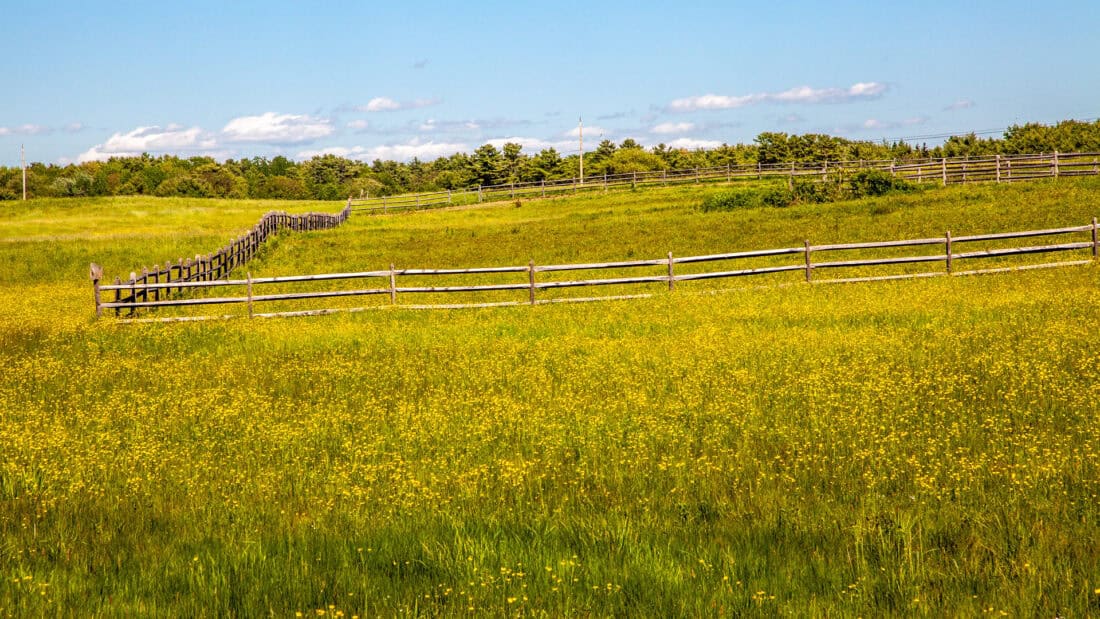
The split rail fence is a bit more structured. It features wooden posts that are spaced regularly with two to four horizontal rails fitted into pre-cut holes in the posts. This style has a more open and airy feel, making it a favorite for marking boundaries without obscuring views, especially in pastoral or suburban settings. It’s great for adding a pastoral touch and is often used in both functional and decorative applications.
If you’re looking for something that’s straightforward, adaptable to uneven terrain, and steeped in a bit of historical charm, the snake rail might be your go-to. But if you want a clean and classic look that keeps your views wide open and can easily mark out neat property lines, then the split rail is calling your name. Both styles echo a simpler time and bring a natural, down-to-earth feel to any landscape.
Building with Split rails – Calculating Costs
Snake rails are generally about 10′ long, but you get around 7′ of distance out of them because their stability comes from the stacked wood interlocking and propping up against itself. They are, in my opinion, the way to go if you are trying to achieve or maintain a particular historic look.
My fence will go around the existing but expanding vegetable garden, and the garden is already laid out on a grid, so having these snaking sides isn’t going to work for me.
I have decided that we will go with an 11′ spaced, two rail split rail fence, and we are going to order it from American Timber and Steel.
The calculations for a split rail fence are straightforward linear foot calculations for fence rails plus accommodations for your line posts and corner posts.
With snake rail, you will need 6 -12x the number split rails (you typically need 6-8 rails for height instead of the normal two rails in a post and rail set up, and then because of the snaking quality, you need double the number to get the full length). You will not, however, need any line posts, corner posts, or manpower for all that post-hole digging.
It is certainly a tradeoff!
Split Rail Fencing is a Doable DIY
The installation of either type of fence is very doable as a DIY project. You’ll need a post-hole digger . We use the manual tool because the giant mechanical auger you can typically rent at a home improvement store just doesn’t work in our rocky New England soil. I wish the mechanized tool worked for us – it would have saved my back! But you can use it if you don’t percolate granite boulders like we do in my neck of the woods.
We chose a yellow pine fence treated with ACQ. This gives it a considerably longer life than cedar (2x-3x longer, and it is cheaper). It also has sides that are precut to make attaching chicken wire or other wire mesh(as I will be doing) easier and more attractive. This way, my new fence will have the look of open, attractive horizontal rails, but the less visible (especially from a distance) wire will actually help keep some smaller critters out of the vegetable patch.
I was unsure of ACQ treatments at first, but I’ve done some research and think I am okay with it. Have you used ACQ-treated wood? What is your experience? The order hasn’t been placed, so I am eager to hear your opinion.
More Inspiration for the Design of Split Rail Fences:


+comments+